Developer Activity: Work on feature branch
In this module, as a Developer you are tasked to make changes to an existing service - the parasol-store service. You will create a feature branch of the repository and then work in an ephemeral environment that allows you to work independently without impacting other developers in your team. Once you are ready with the changes, you can raise a merge request to push your changes to main branch, and there progressing the changes to production deployment
Please make sure you are logged in as a Developer with dev1 / {common_password}.
|
Click here to view instructions to login as the Developer.
Login as Developer
-
You will perform this activity as a Developer.
-
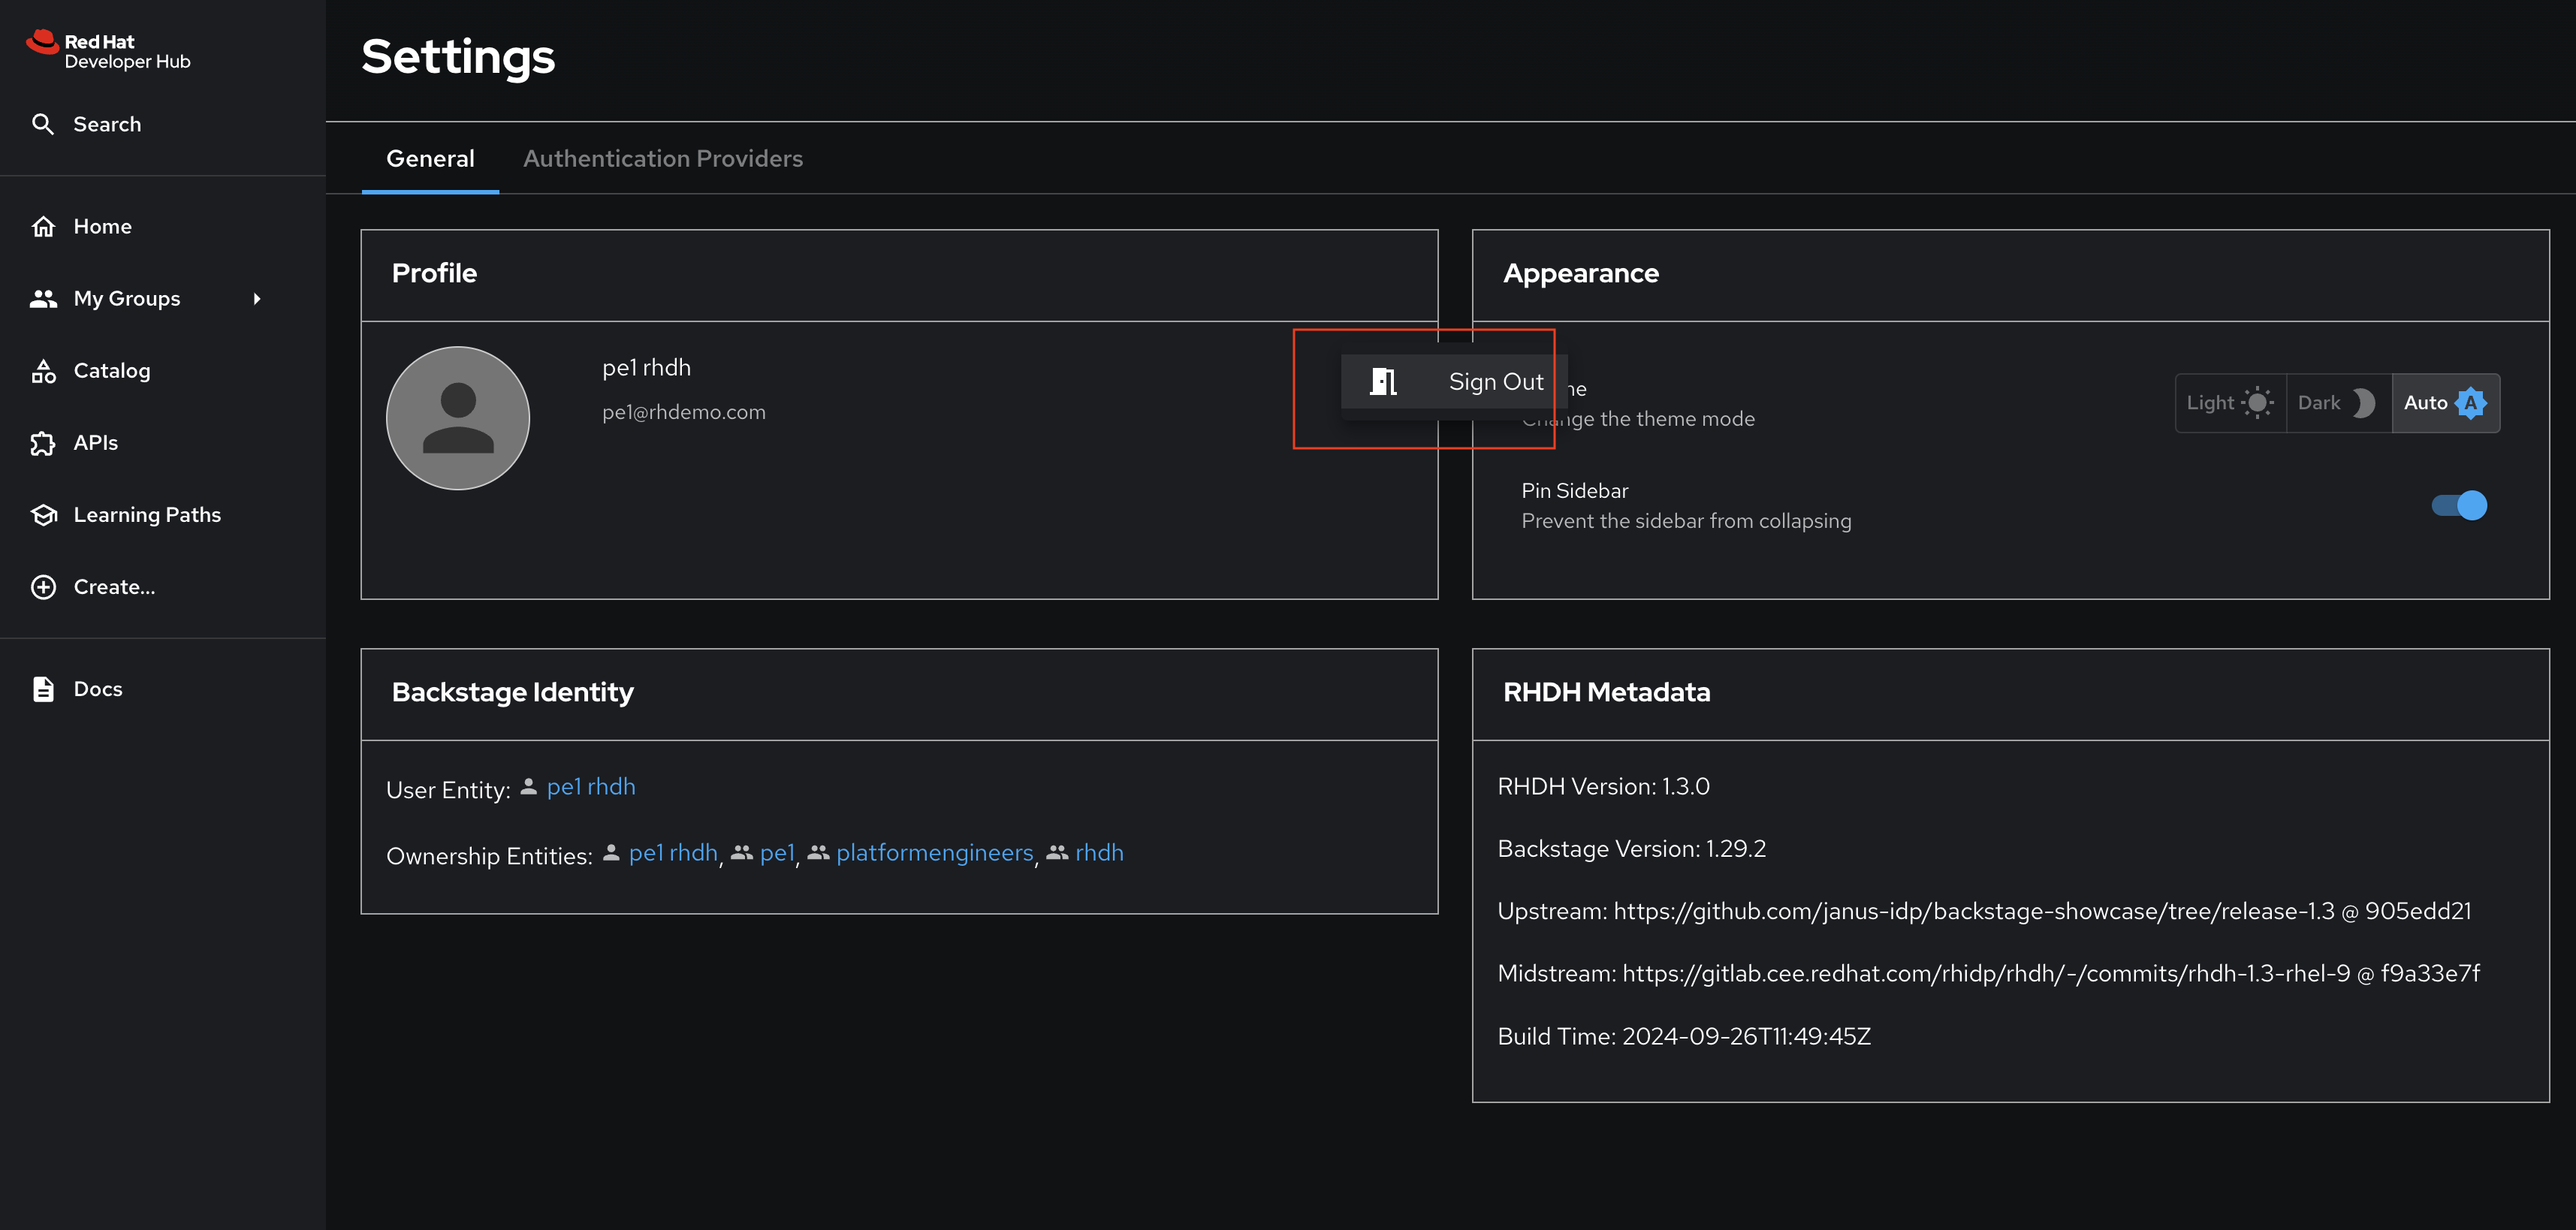
Logout from Red Hat Developer Hub
-
Click the dropdown in the top-right of Red Hat Developer Hub, then click on the Logout link.
-
-
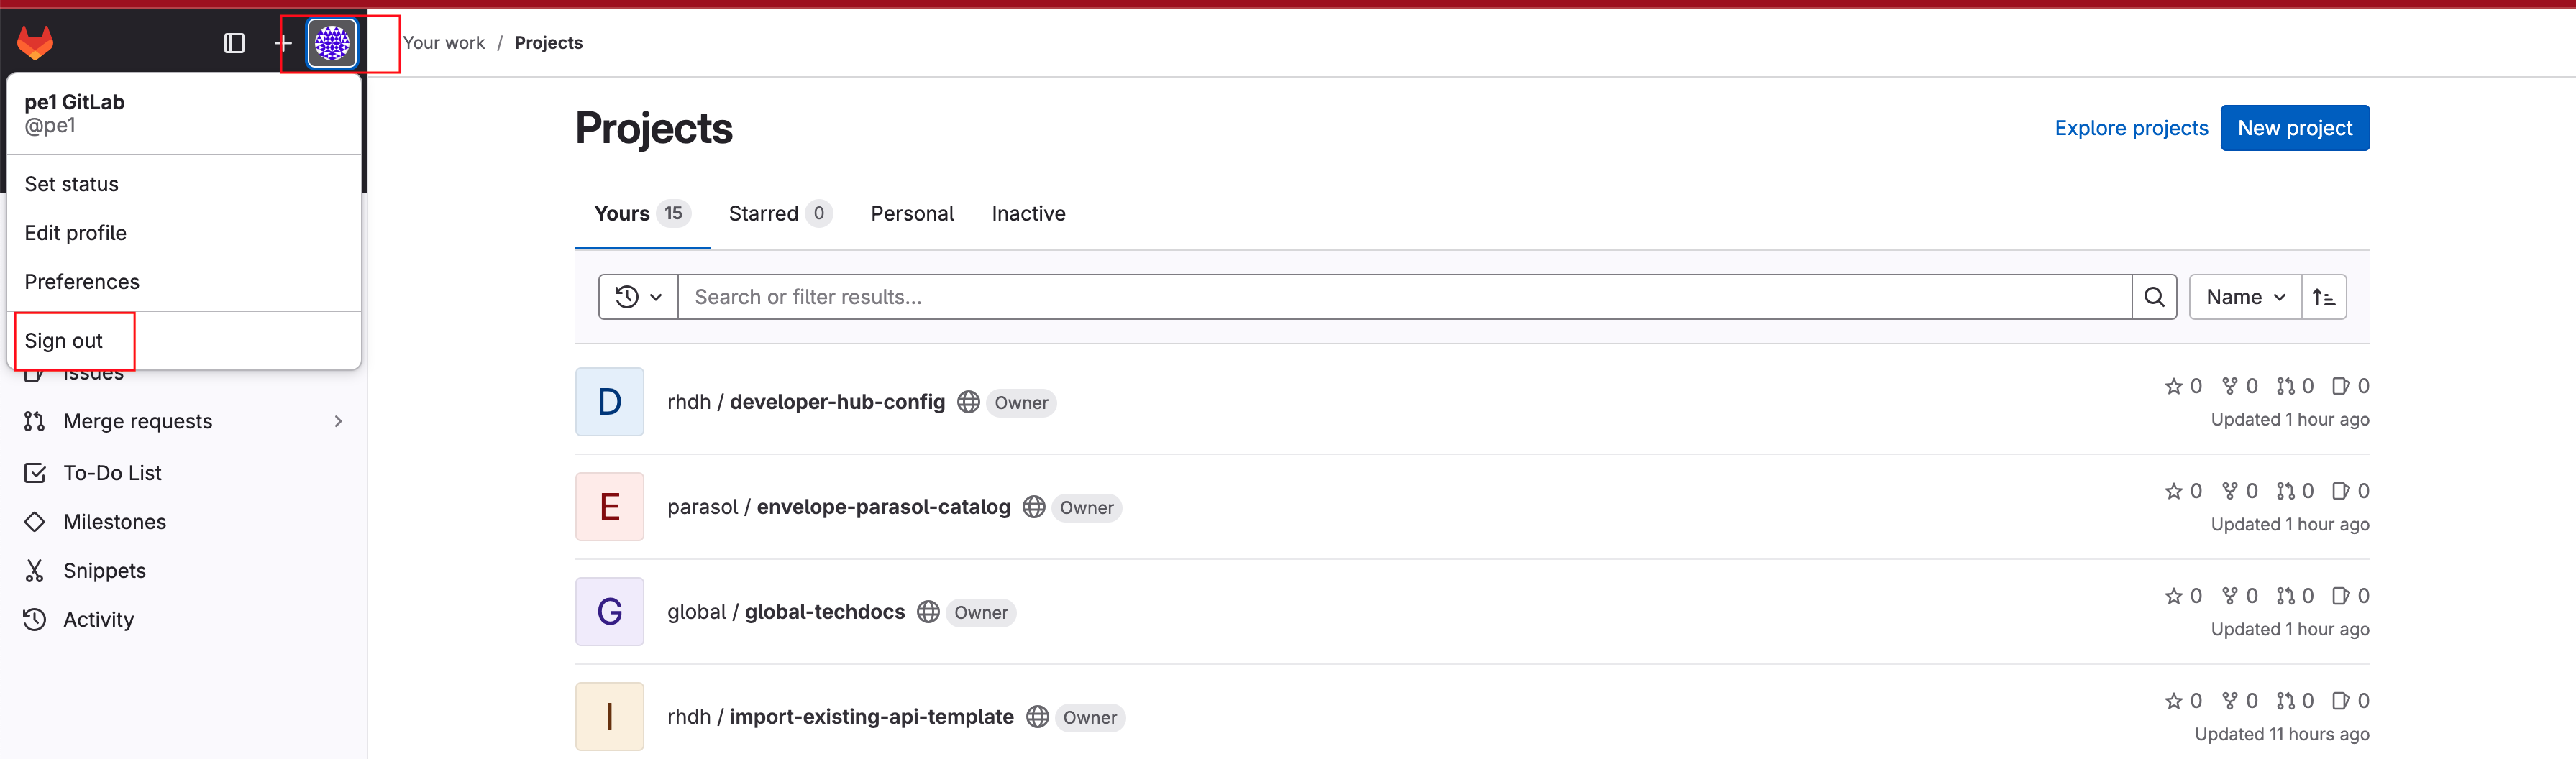
Logout from GitLab
-
Click on the Profile icon, and Sign out from the dropdown as shown in the screenshot below.
-
-
Login back as a Developer to to Red Hat Developer Hub and GitLab using the credentials
dev1/{common_password}
Create a Feature Branch
-
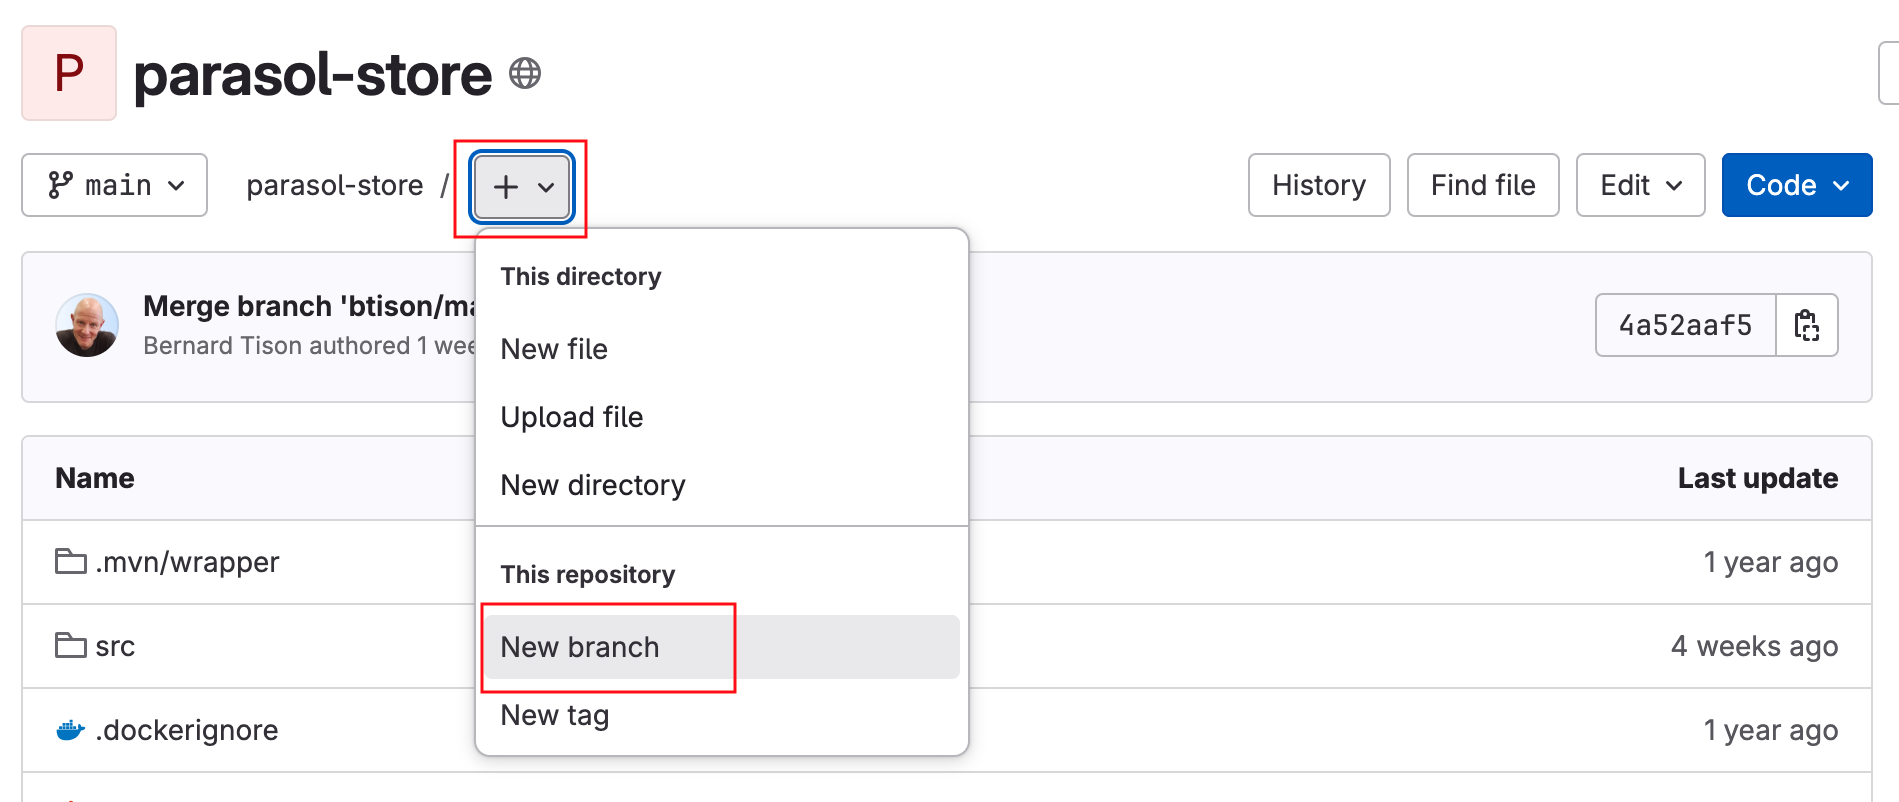
Click here to access the parasol-store repository.
-
Click on the (+) button as shown in the screenshot below, and click on New branch menu
-
Name the branch
my-feature-branch. The rest of the instructions assume this is the branch name.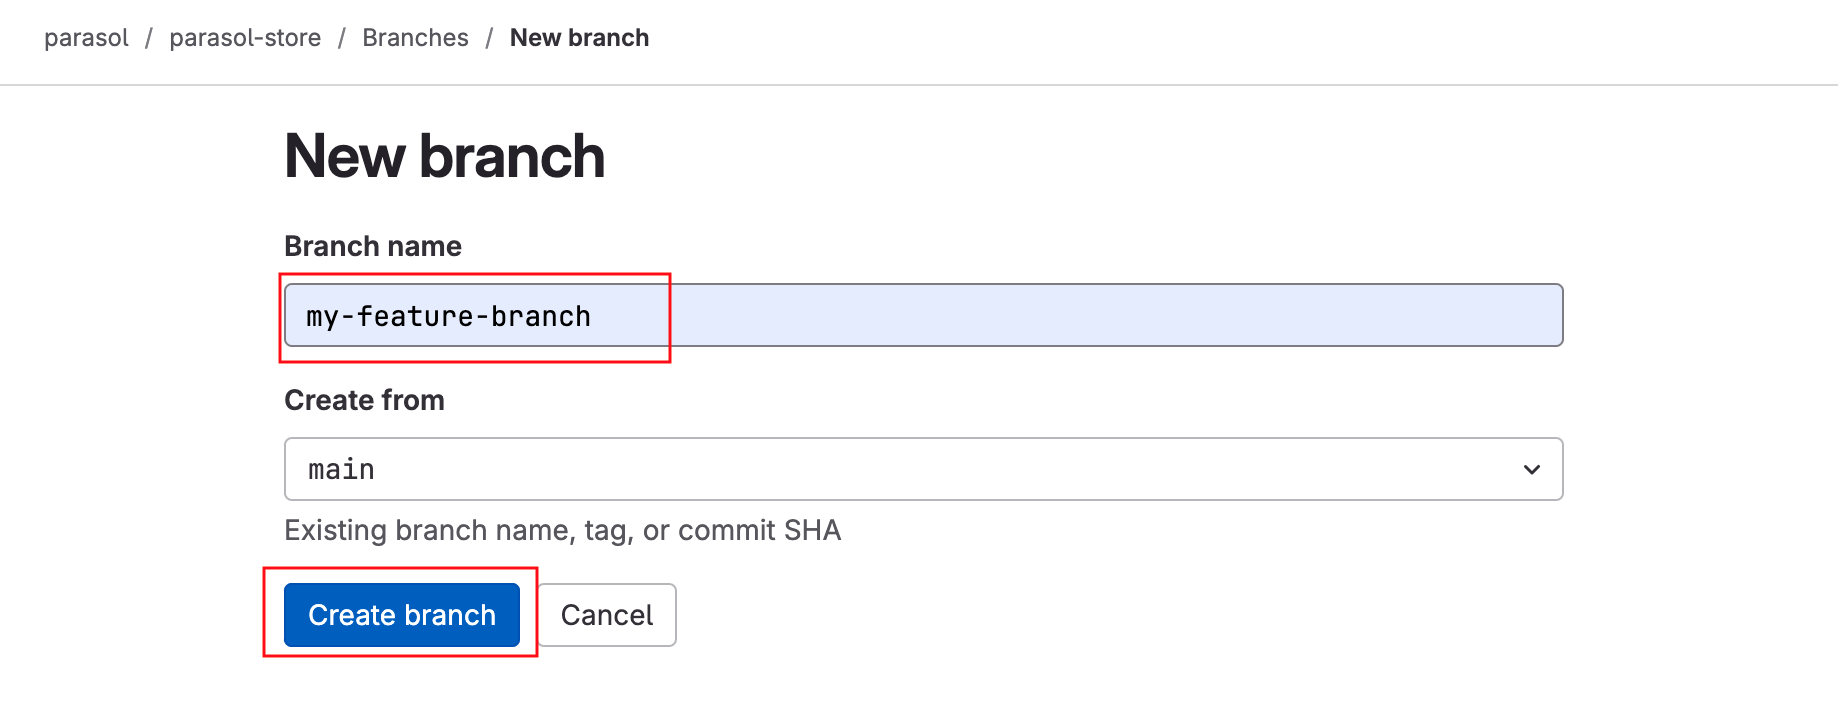
Onboard the Feature Branch using template
-
Visit your instance of Red Hat Developer Hub. If prompted, login as
dev1/{common_password}. -
Select the
 icon on the top navigation bar to access the Self-service menu and view the available templates.
 -
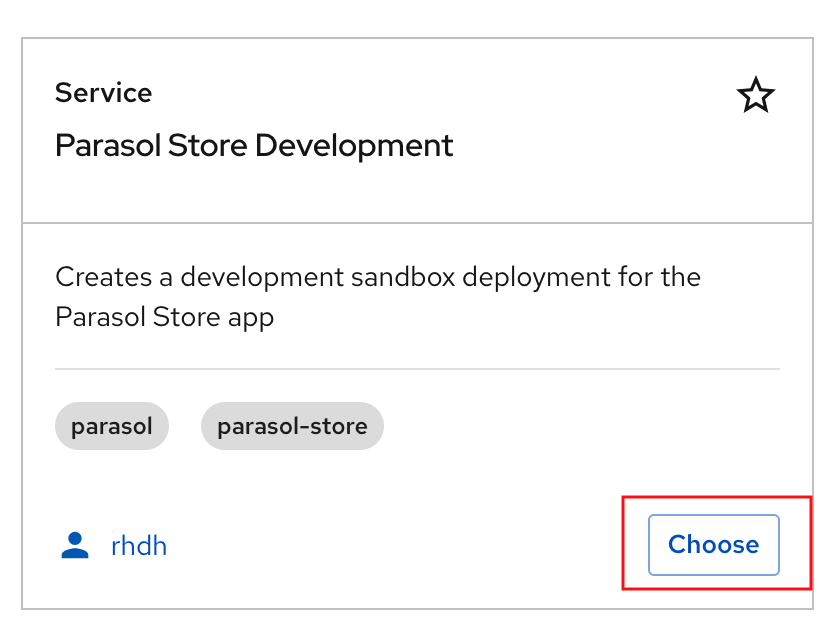
Click Choose button on the Parasol Store Development template.
-
In Step 1: Provide Information for the sandbox deployment, enter the feature branch name
my-feature-branchor the name you have picked for your branch.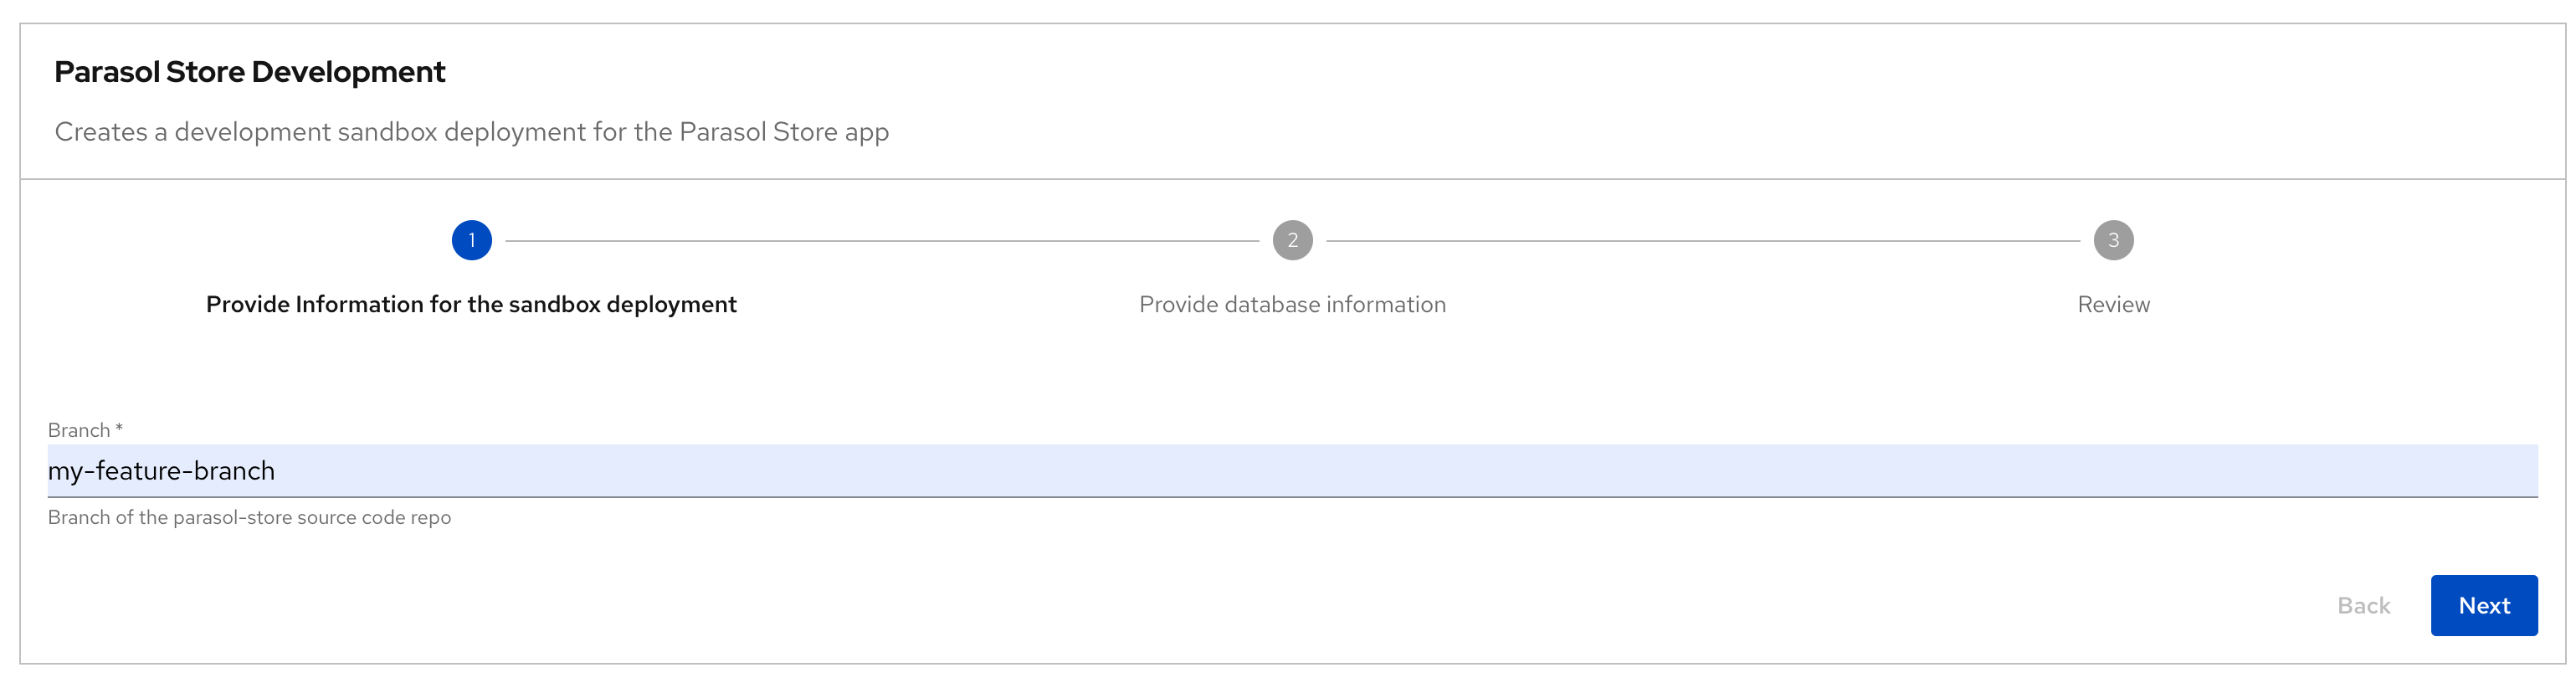
-
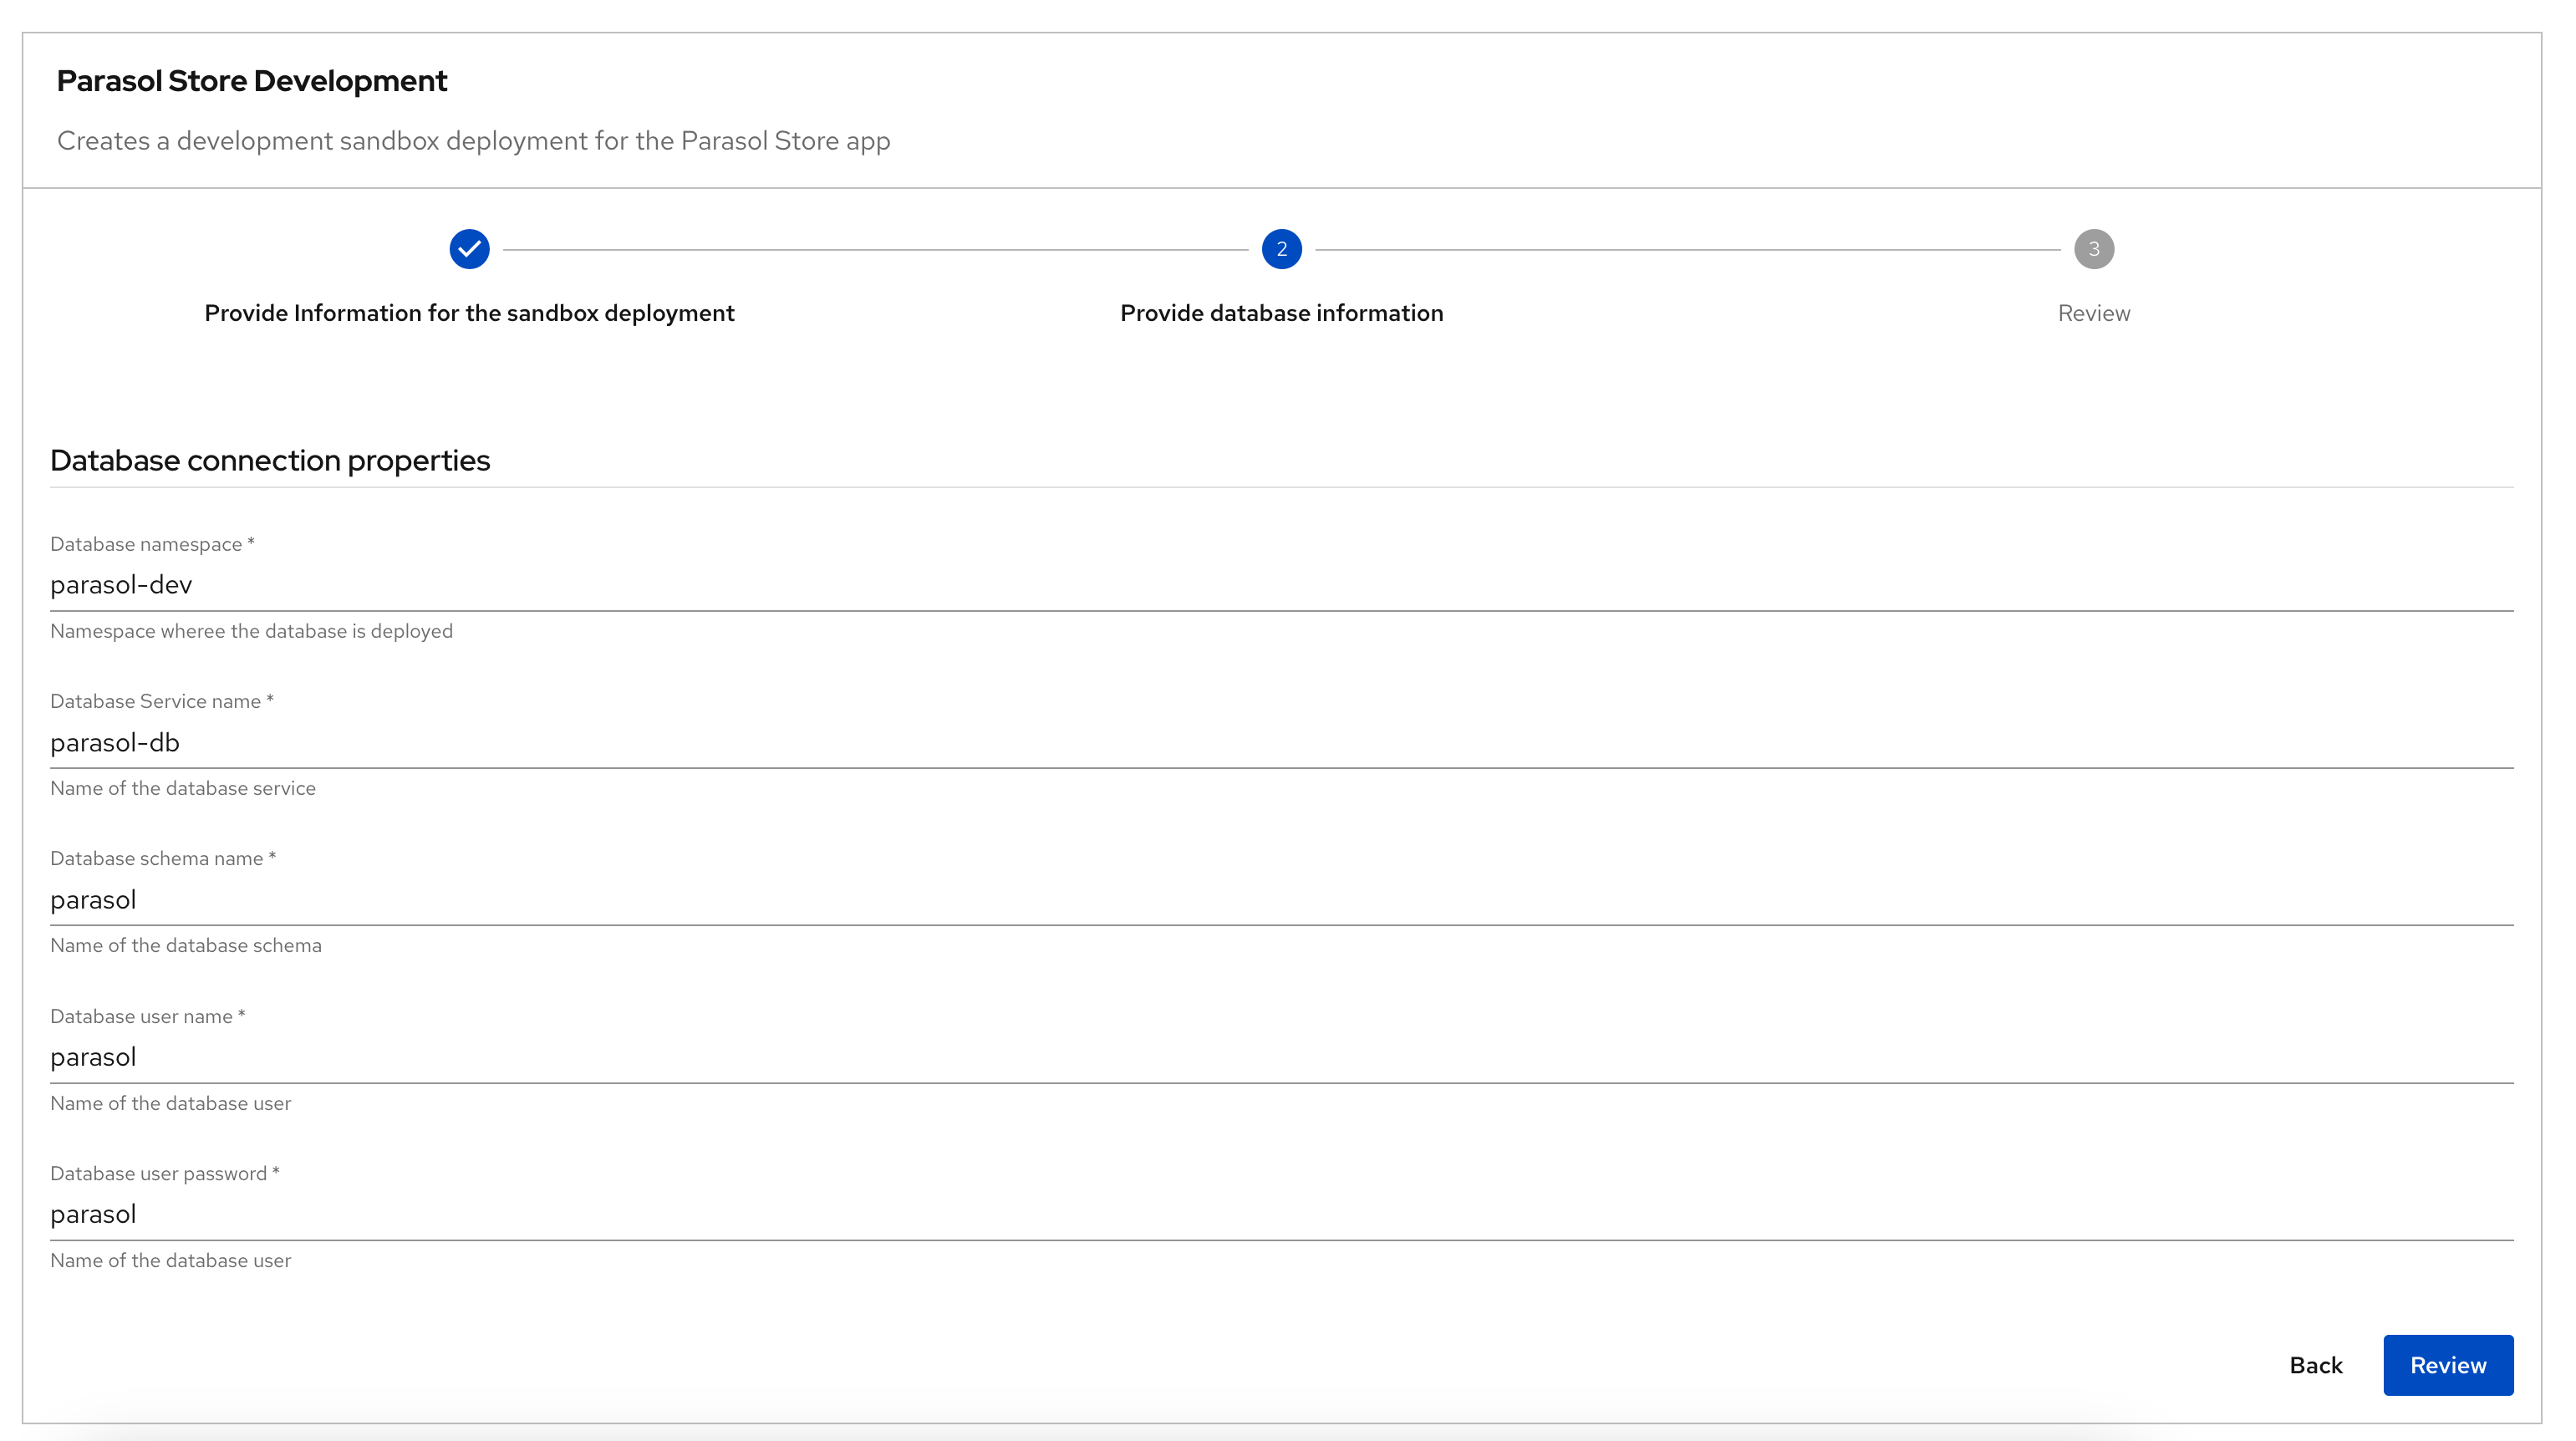
In Step 2: Provide database information. Keep all the fields as they are - no need to make changes.
-
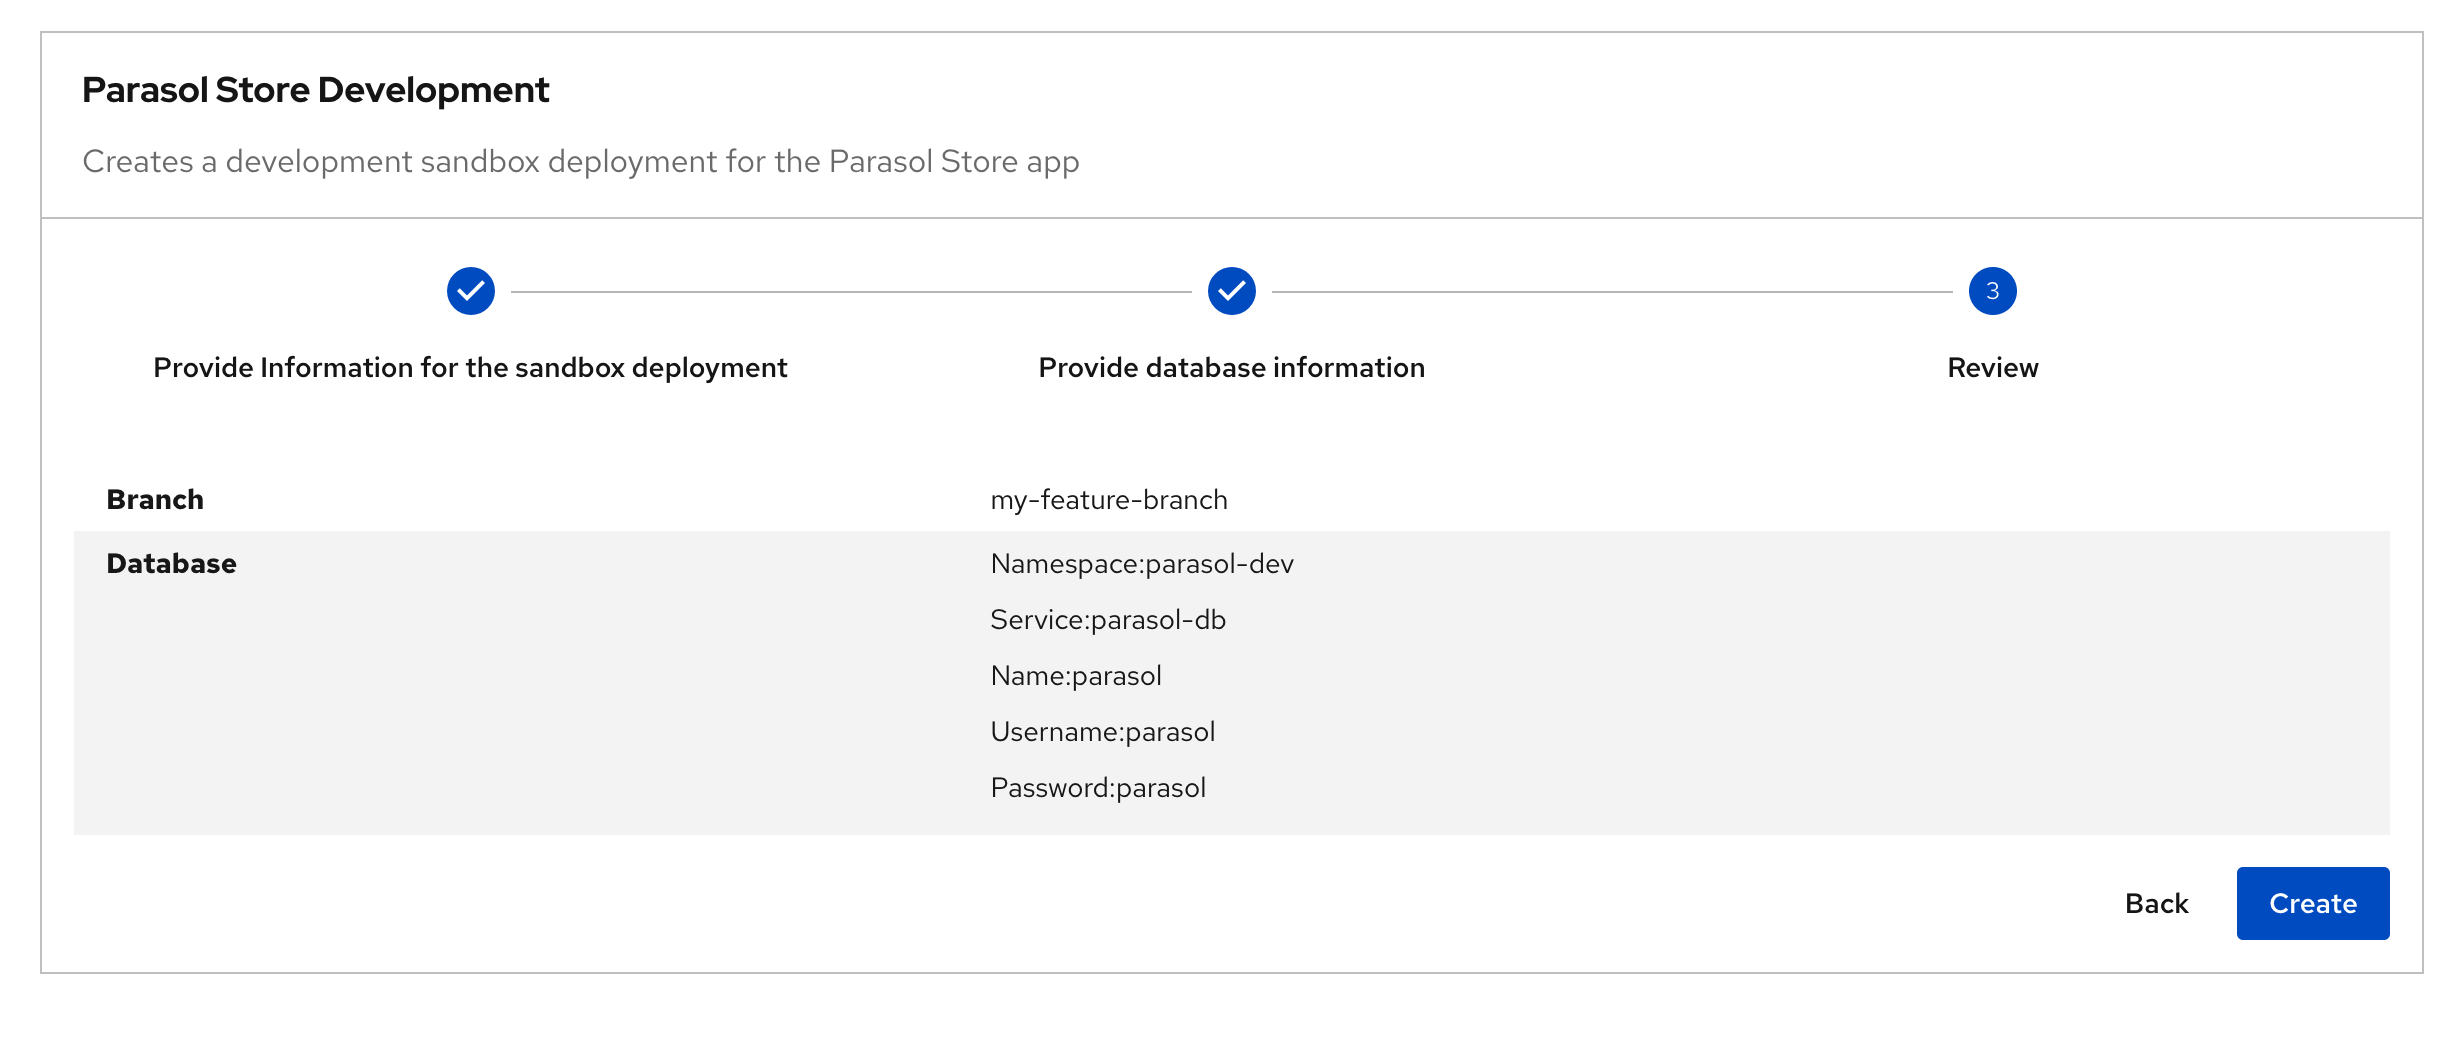
Click on Review, and proceed to Create
-
Click on the Open component on catalog link
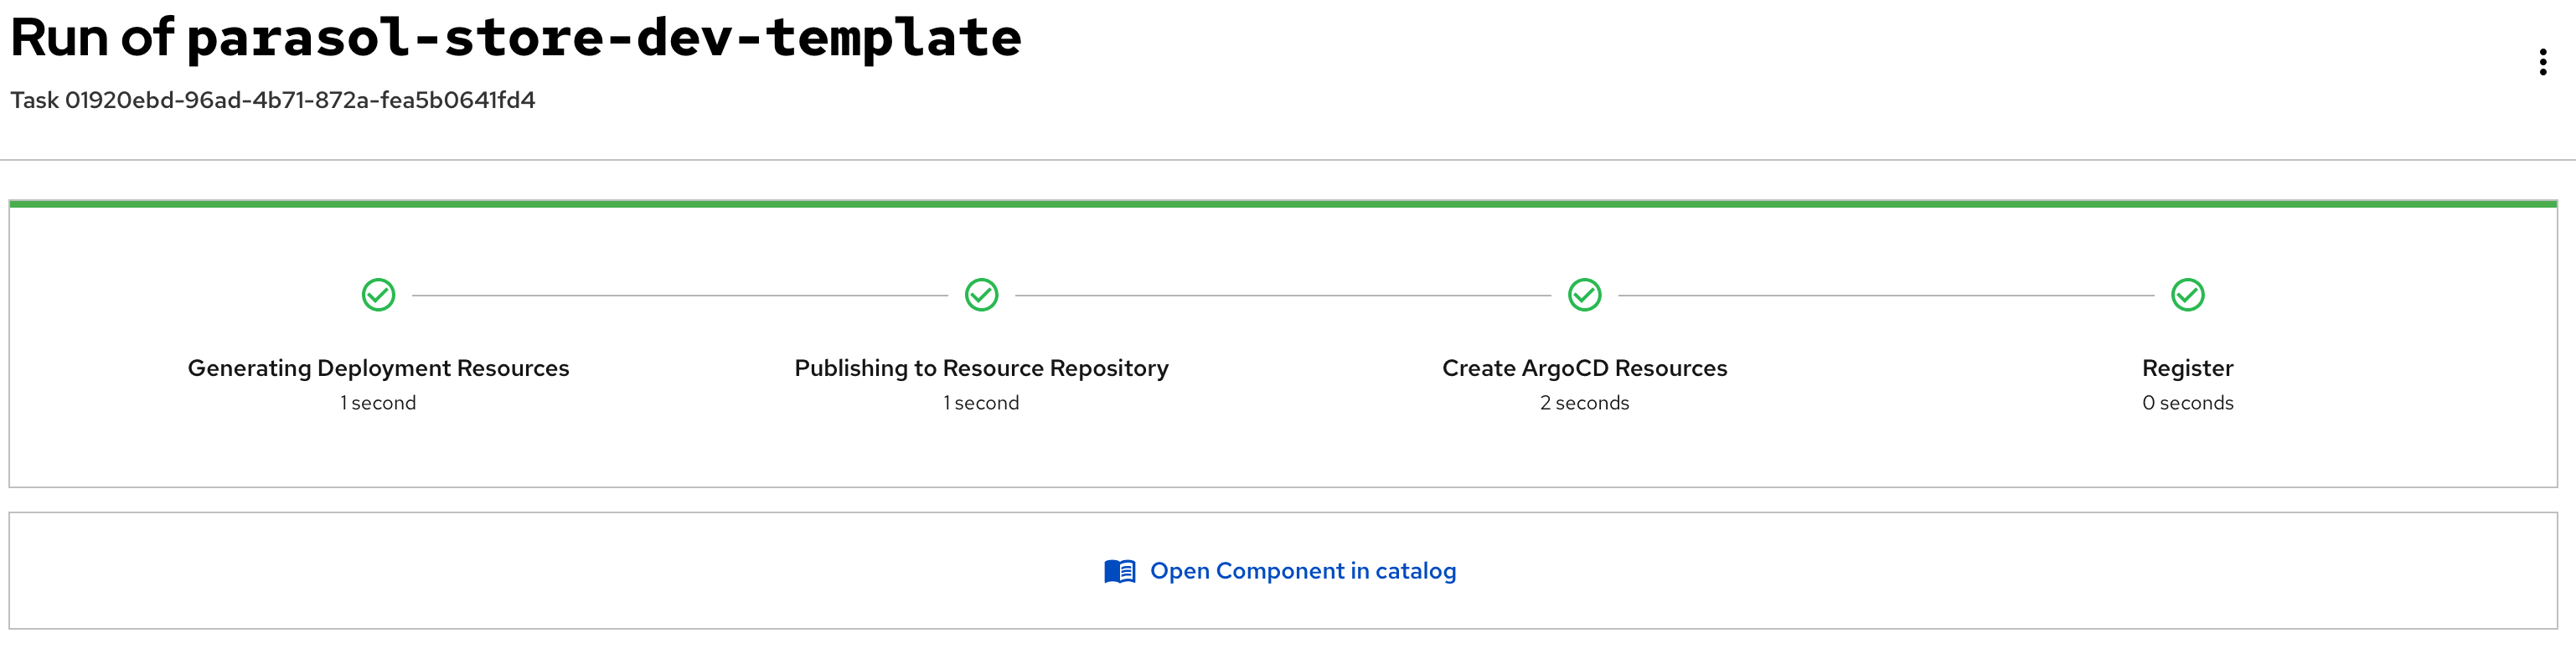
Explore the Component
-
The newly created component for the ephemeral environment acts as a single pane of glass to perform most of the acivities as a developer
-
Notice that under the CI tab, a pipeline is in progress. If this isn’t in progress yet, allow a few minutes for the pipeline to kickoff.
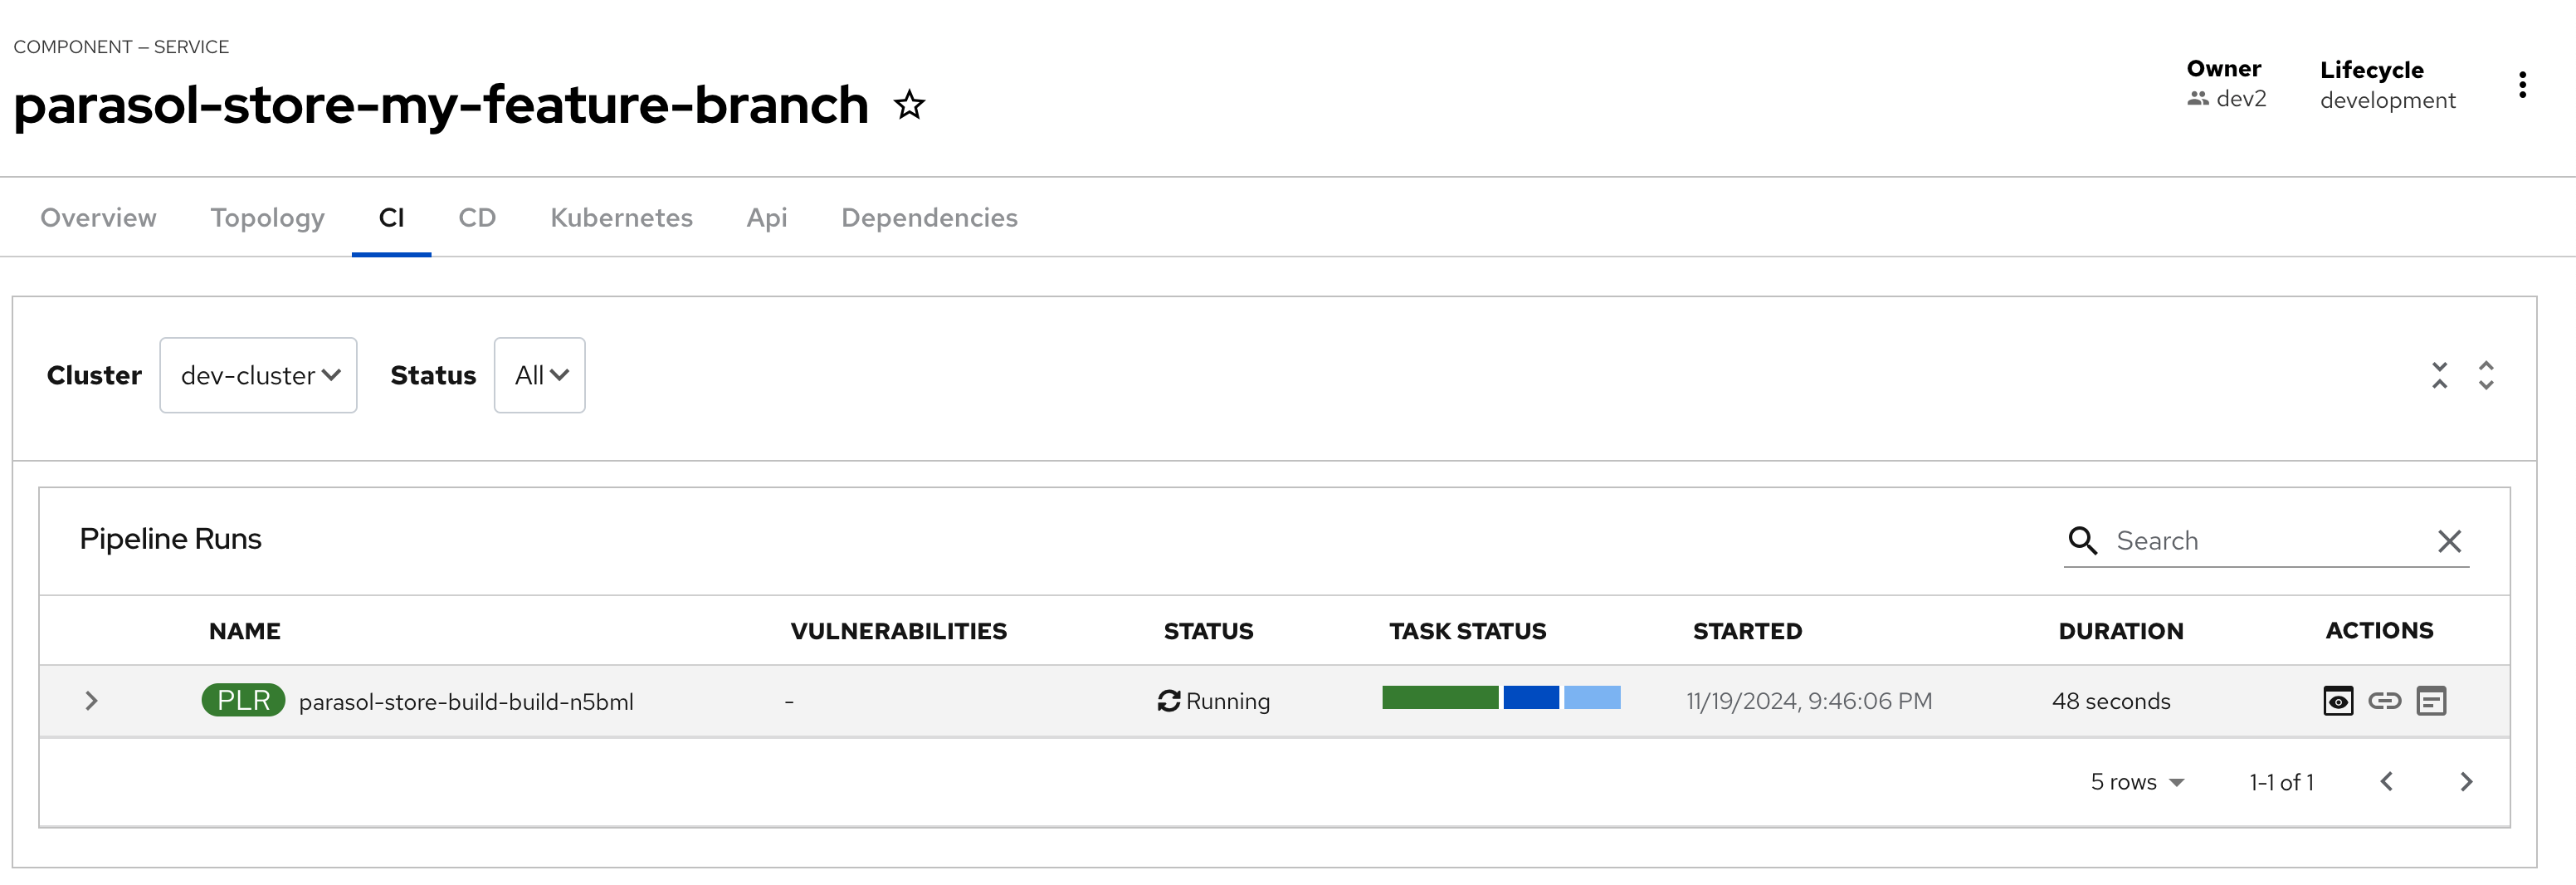
-
The pipeline turns green when it finishes the run successfully
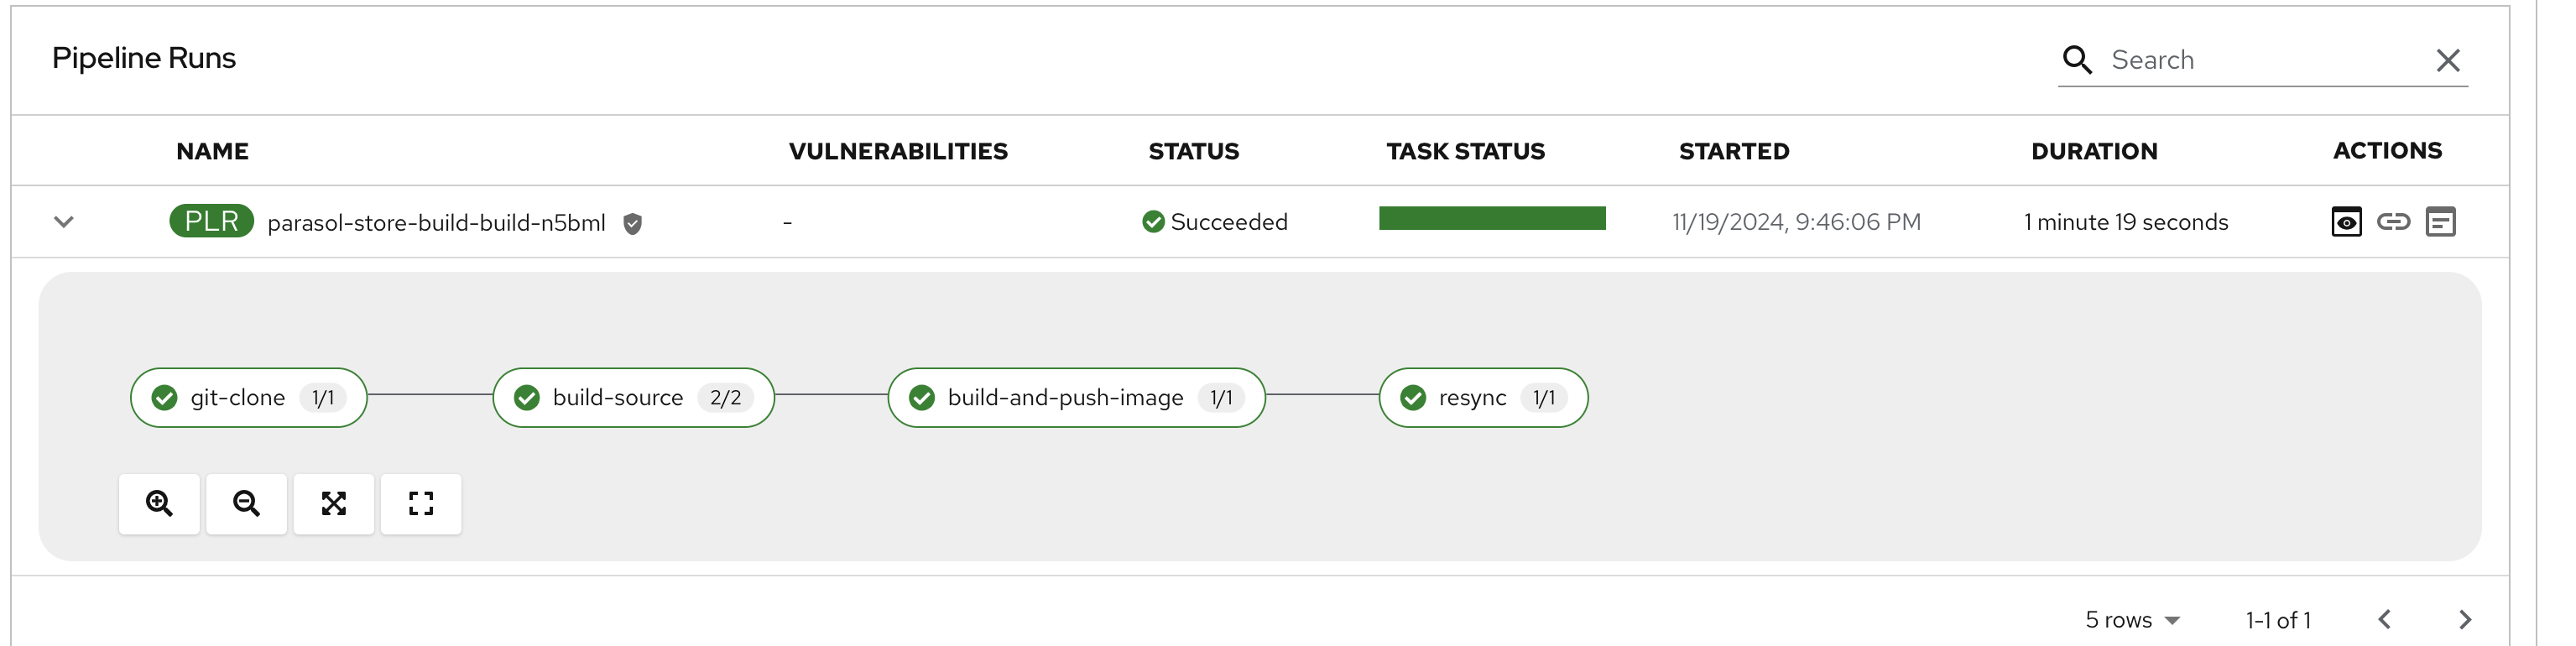
-
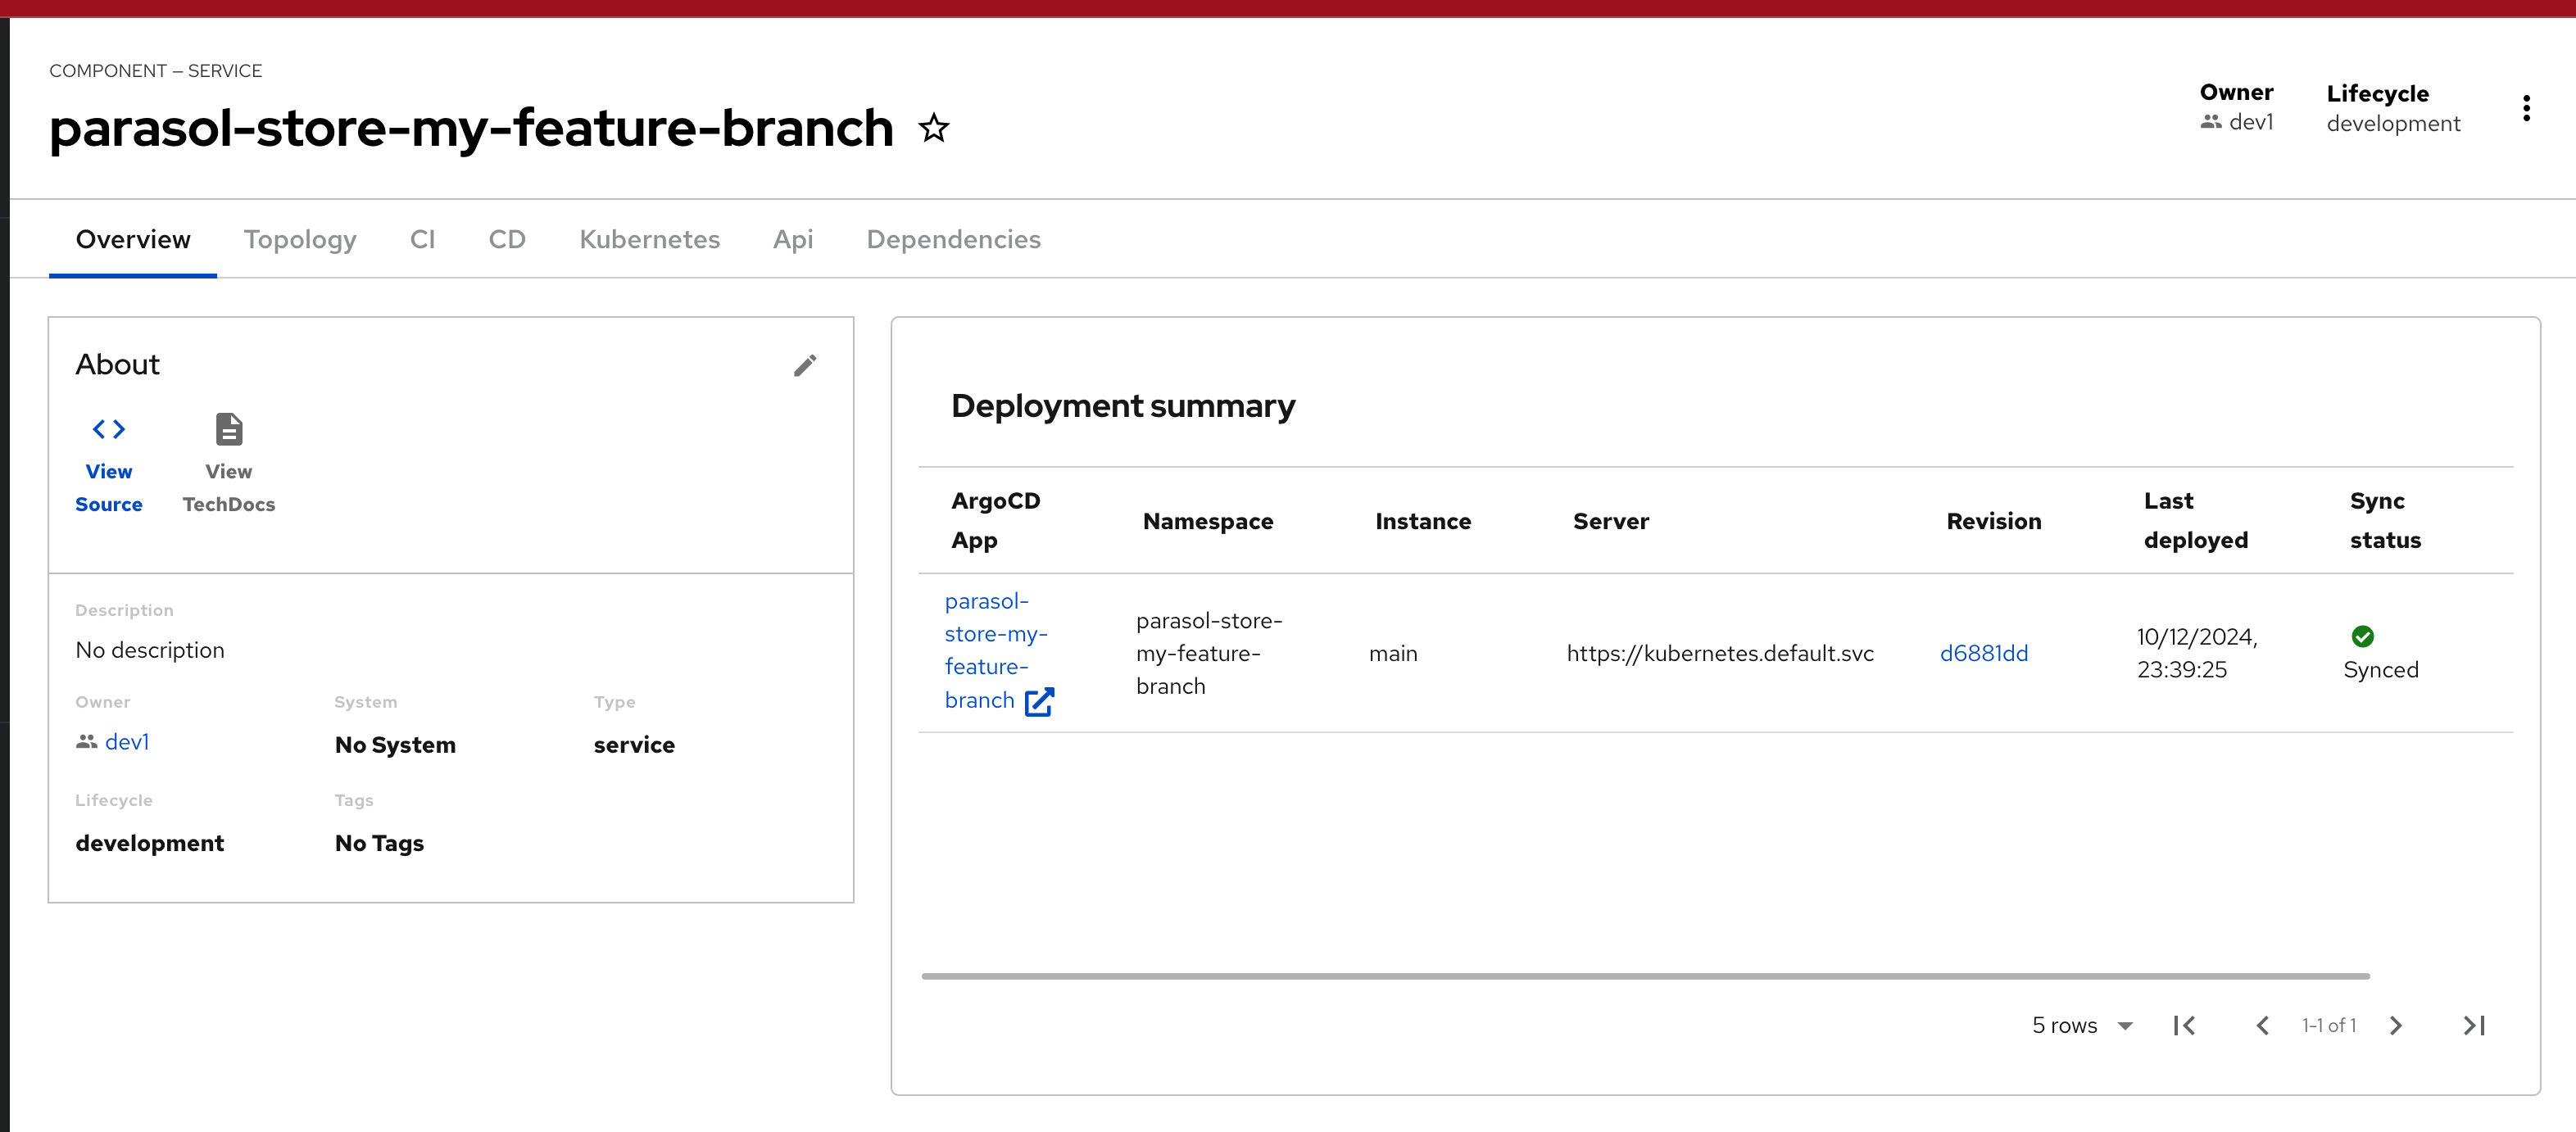
Explore the other tabs to see how Red Hat Developer Hub provides a single pane of glass for the Developer’s ephemeral dev environment.
-
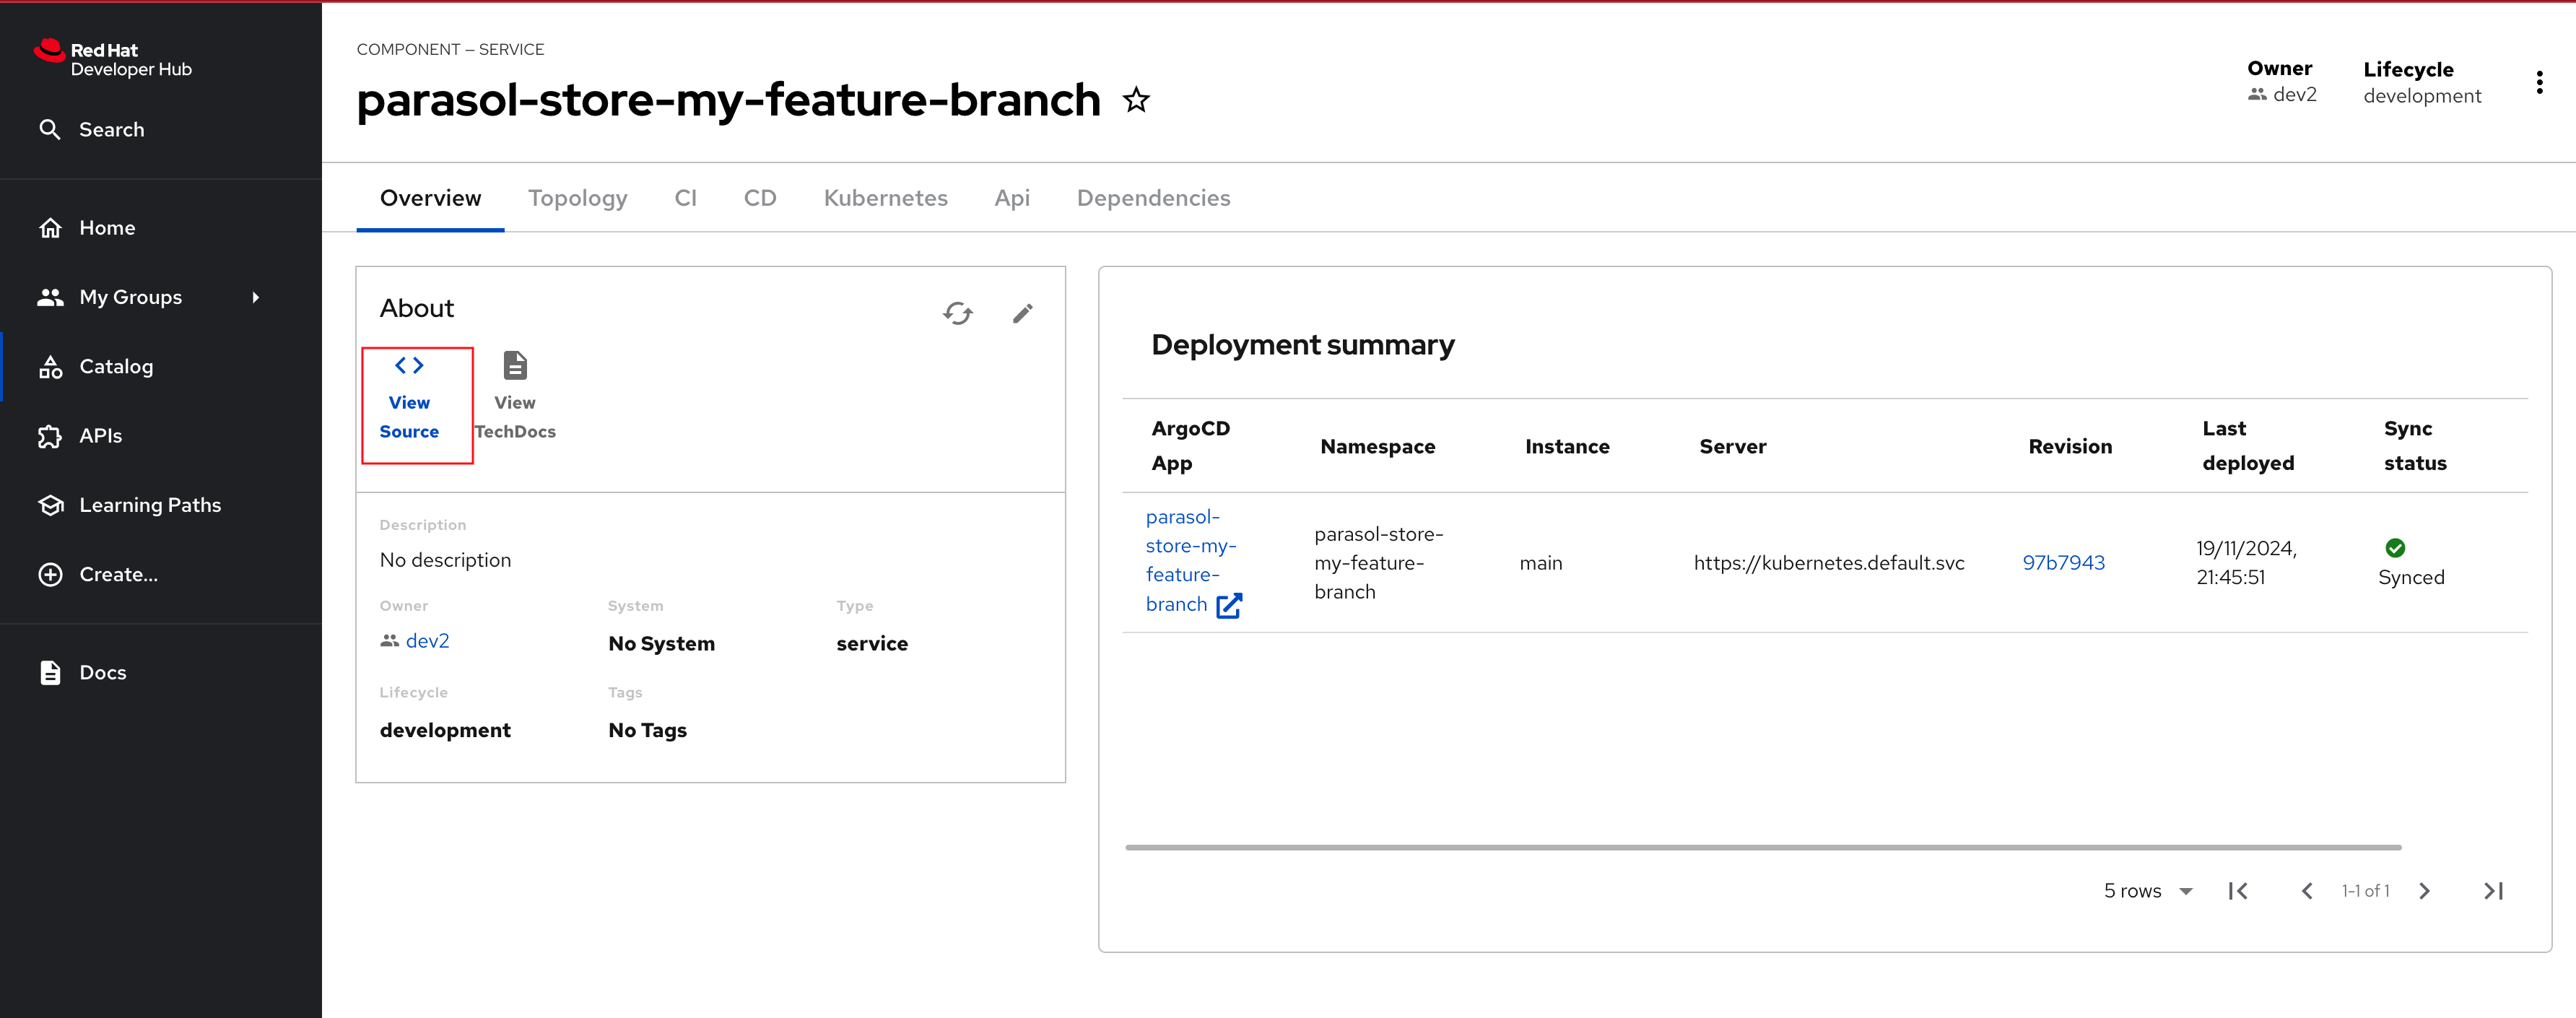
The Overview tab provides easy access to the sourcecode and deployments
-
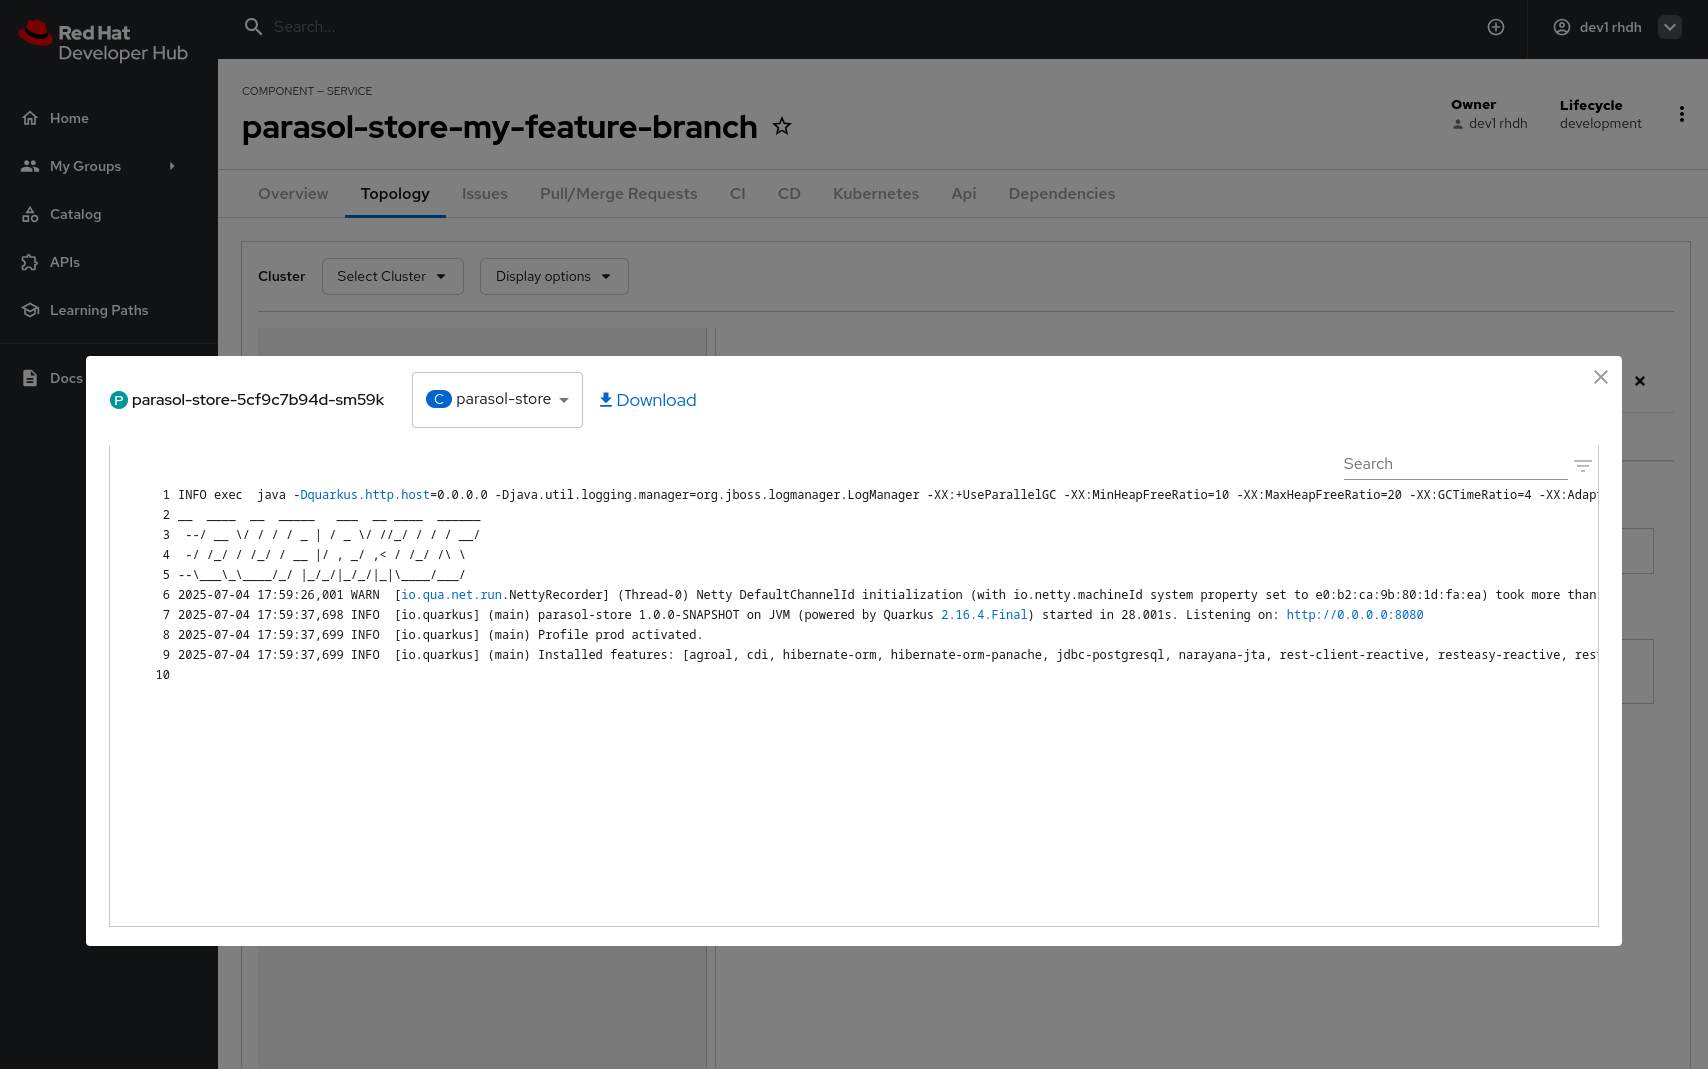
The Topology tab provides a window to the deployment on OpenShift, that gives a developer access to all the deployment parameters, labels and annotations - but also provides searchable access to the Pod logs, without the need to switch to OpenShift directly.
-
The Issues and Pull/Merge Requests tabs provide insights about the GitLab repo
-
CI tab shows an easy view of the pipeline in both OpenShift (Tekton based pipeline), and on GitLab
-
The CD tab shows the deployed components/systems in the namespace using Argo CD plugin
-
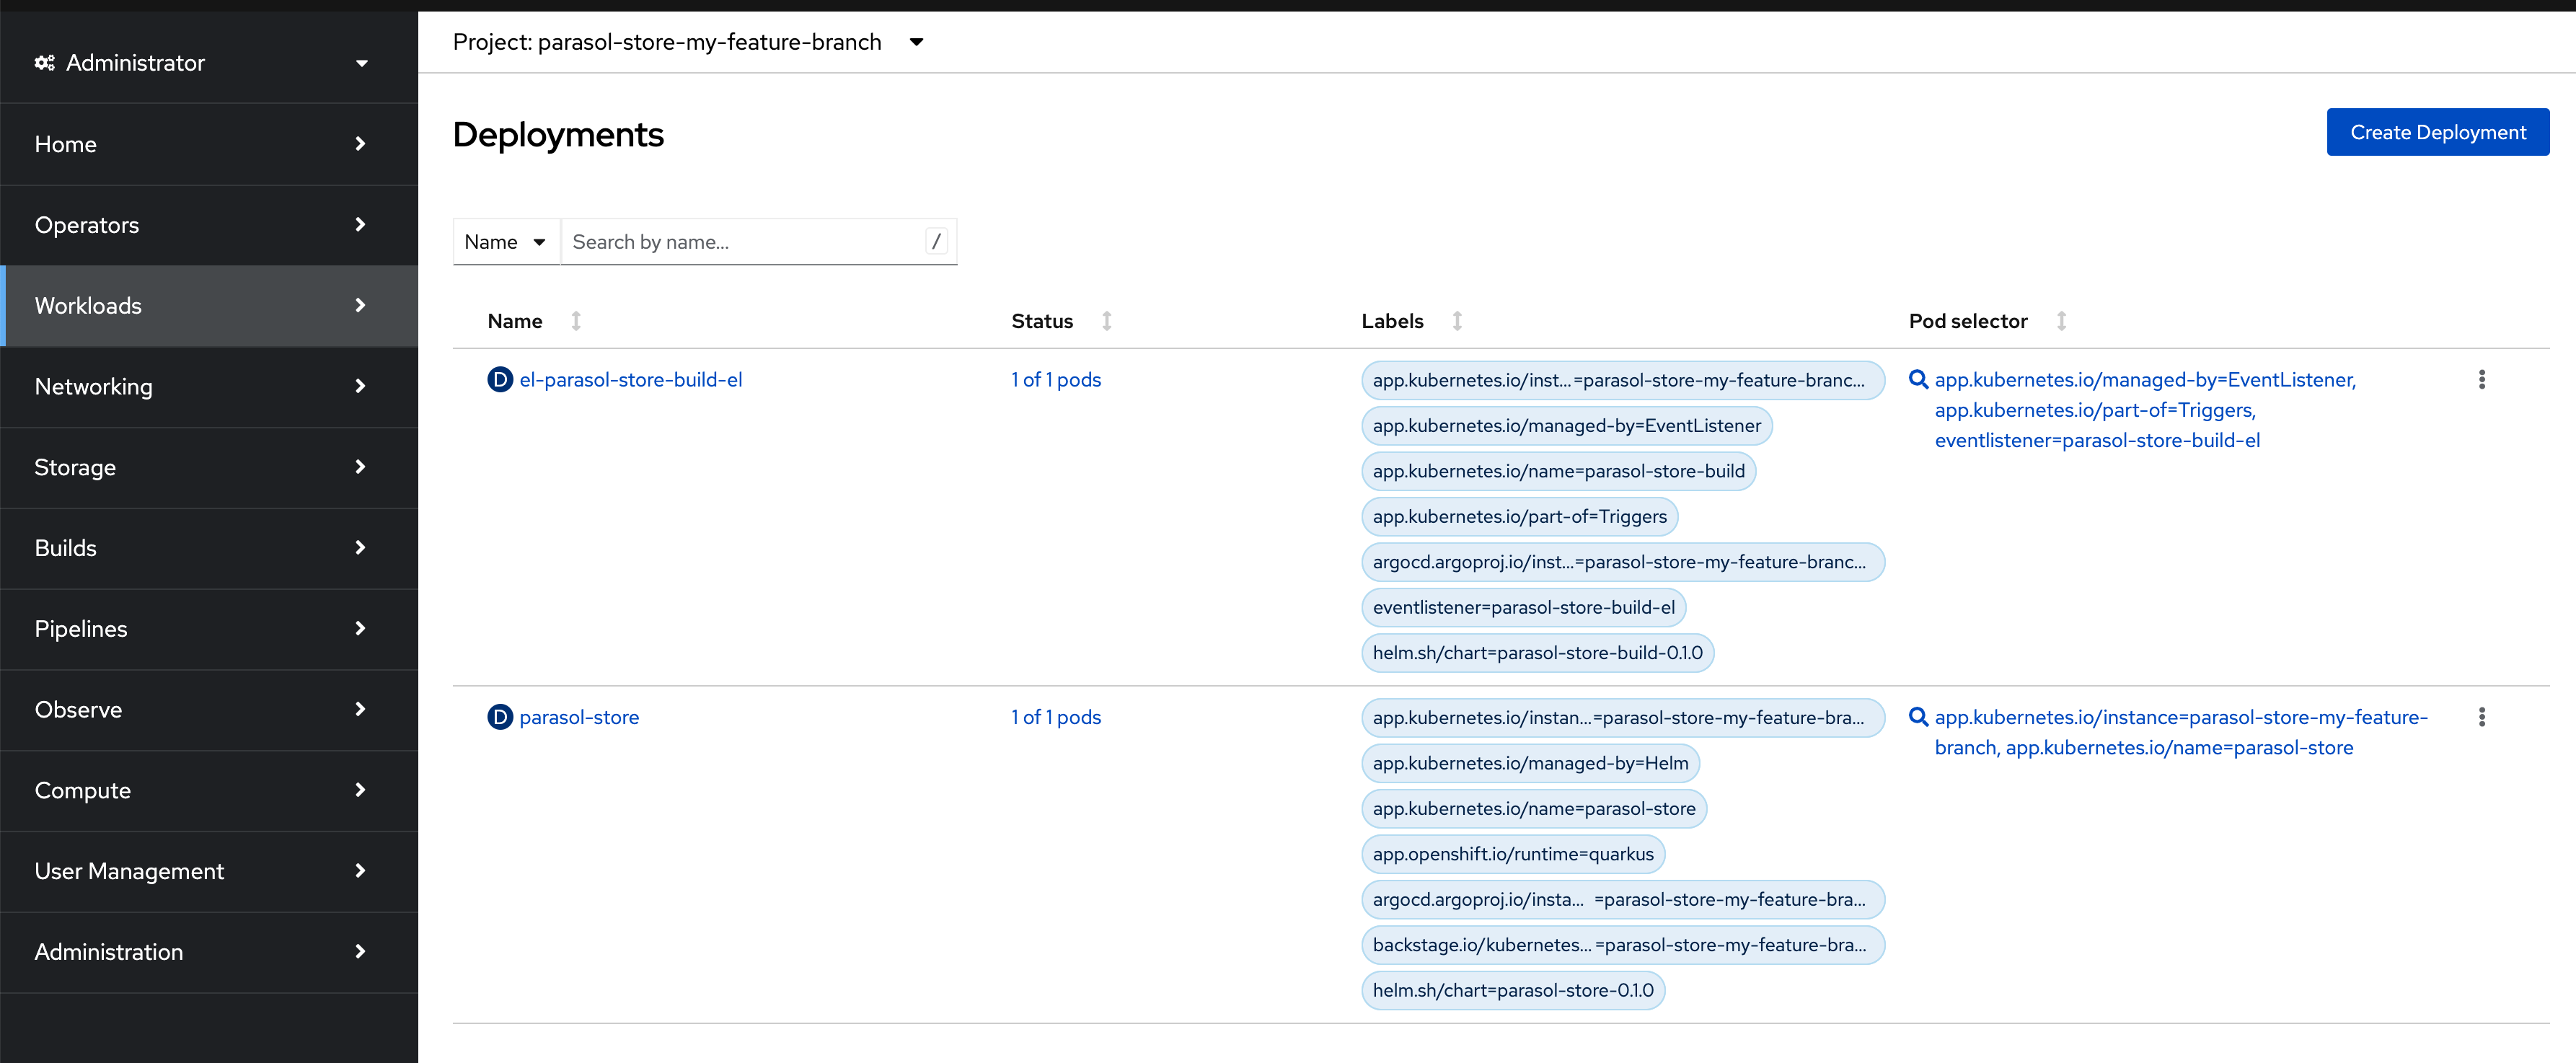
View the deployment on OpenShift
-
To view the deployment on OpenShift, click here.
|
Login to OpenShift using the credentials |
Add Features to the Application
-
Click on the < > View Source button on the Red Hat Developer Hub Component Overview page to access the source code repository.
-
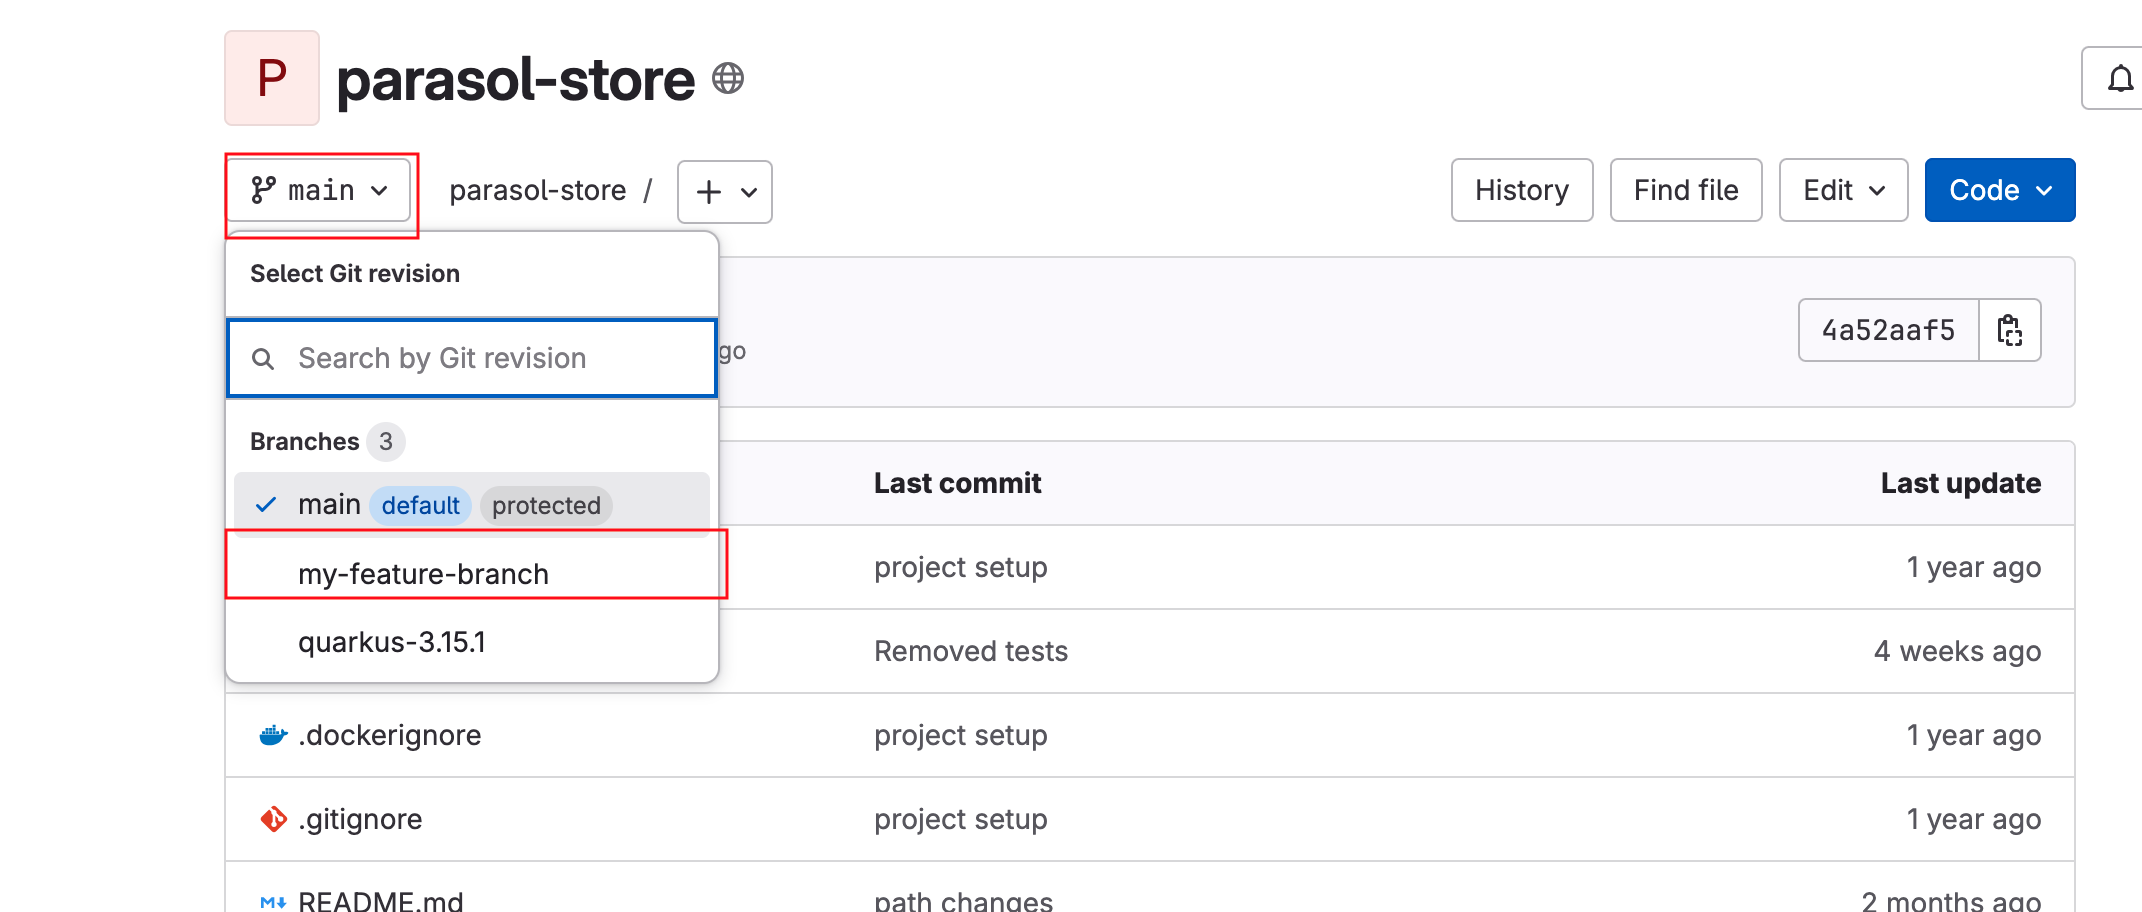
Switch to the my-feature-branch
-
The feature request is to provide a REST API call endpoint that returns the total number of available products. For the purposes of this workshop, you will uncomment a block of code.
-
Changes are needed in the
parasol-store> src> main> java> org> parasol> retail> store> catalog> rest> CatalogResource.javafile. You can click here to directly access this file on GitLab. -
Select Edit > Edit single file. If prompted, login as
dev1/{common_password}.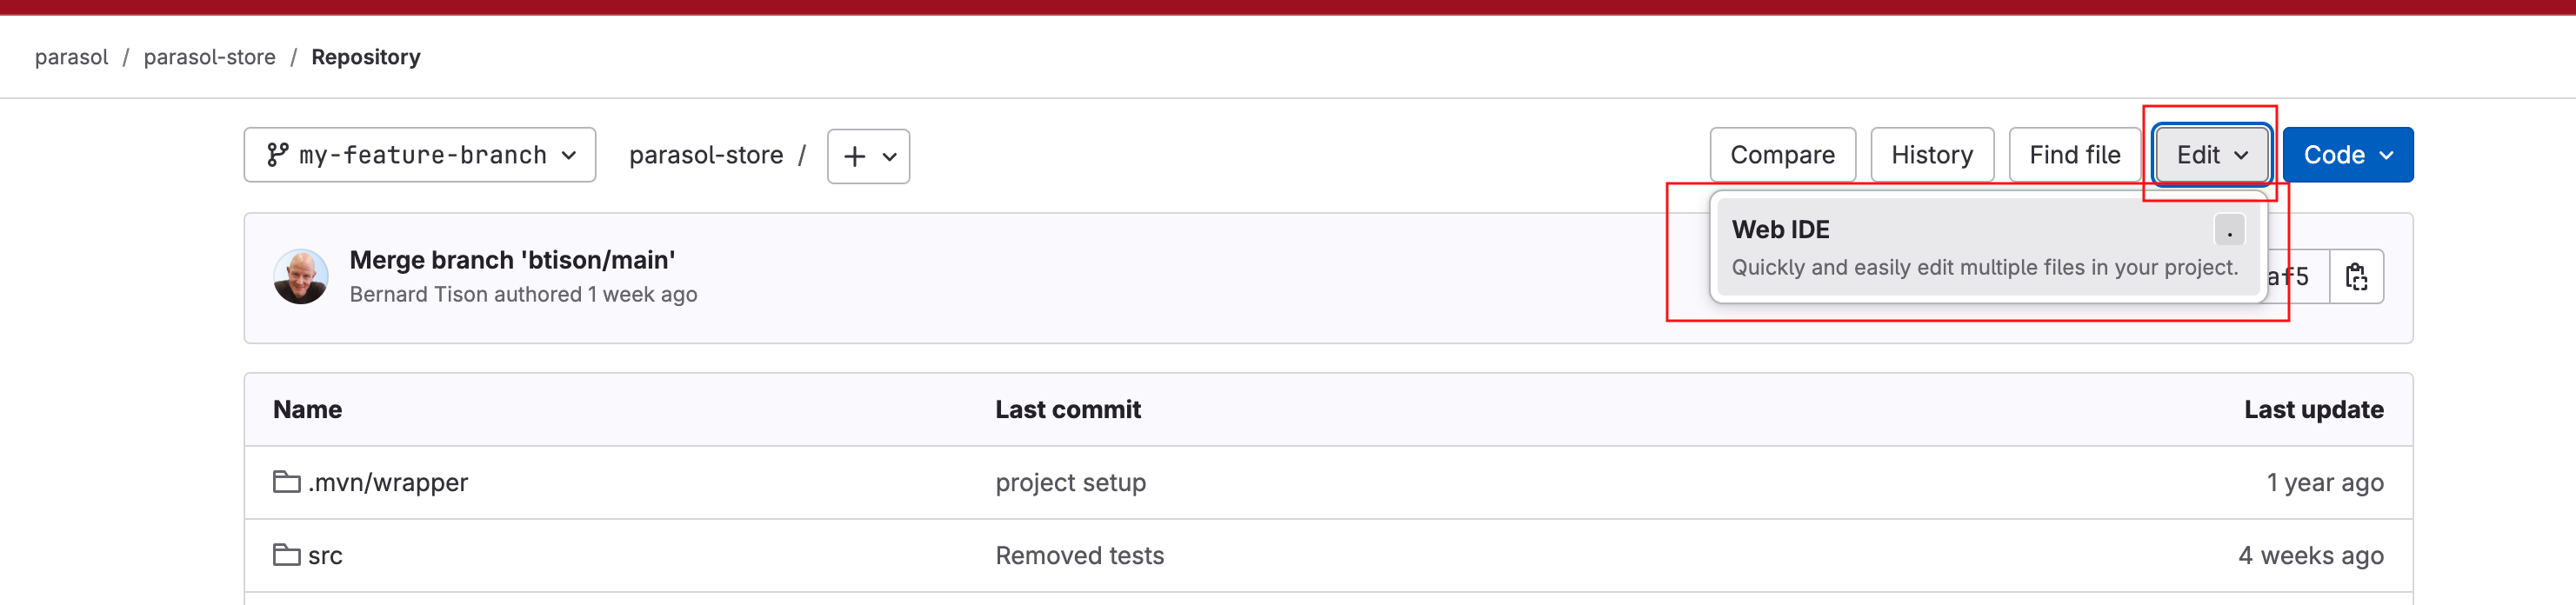
-
Right at the bottom of this file, you will find the
getProductCount()method that’s been commented out.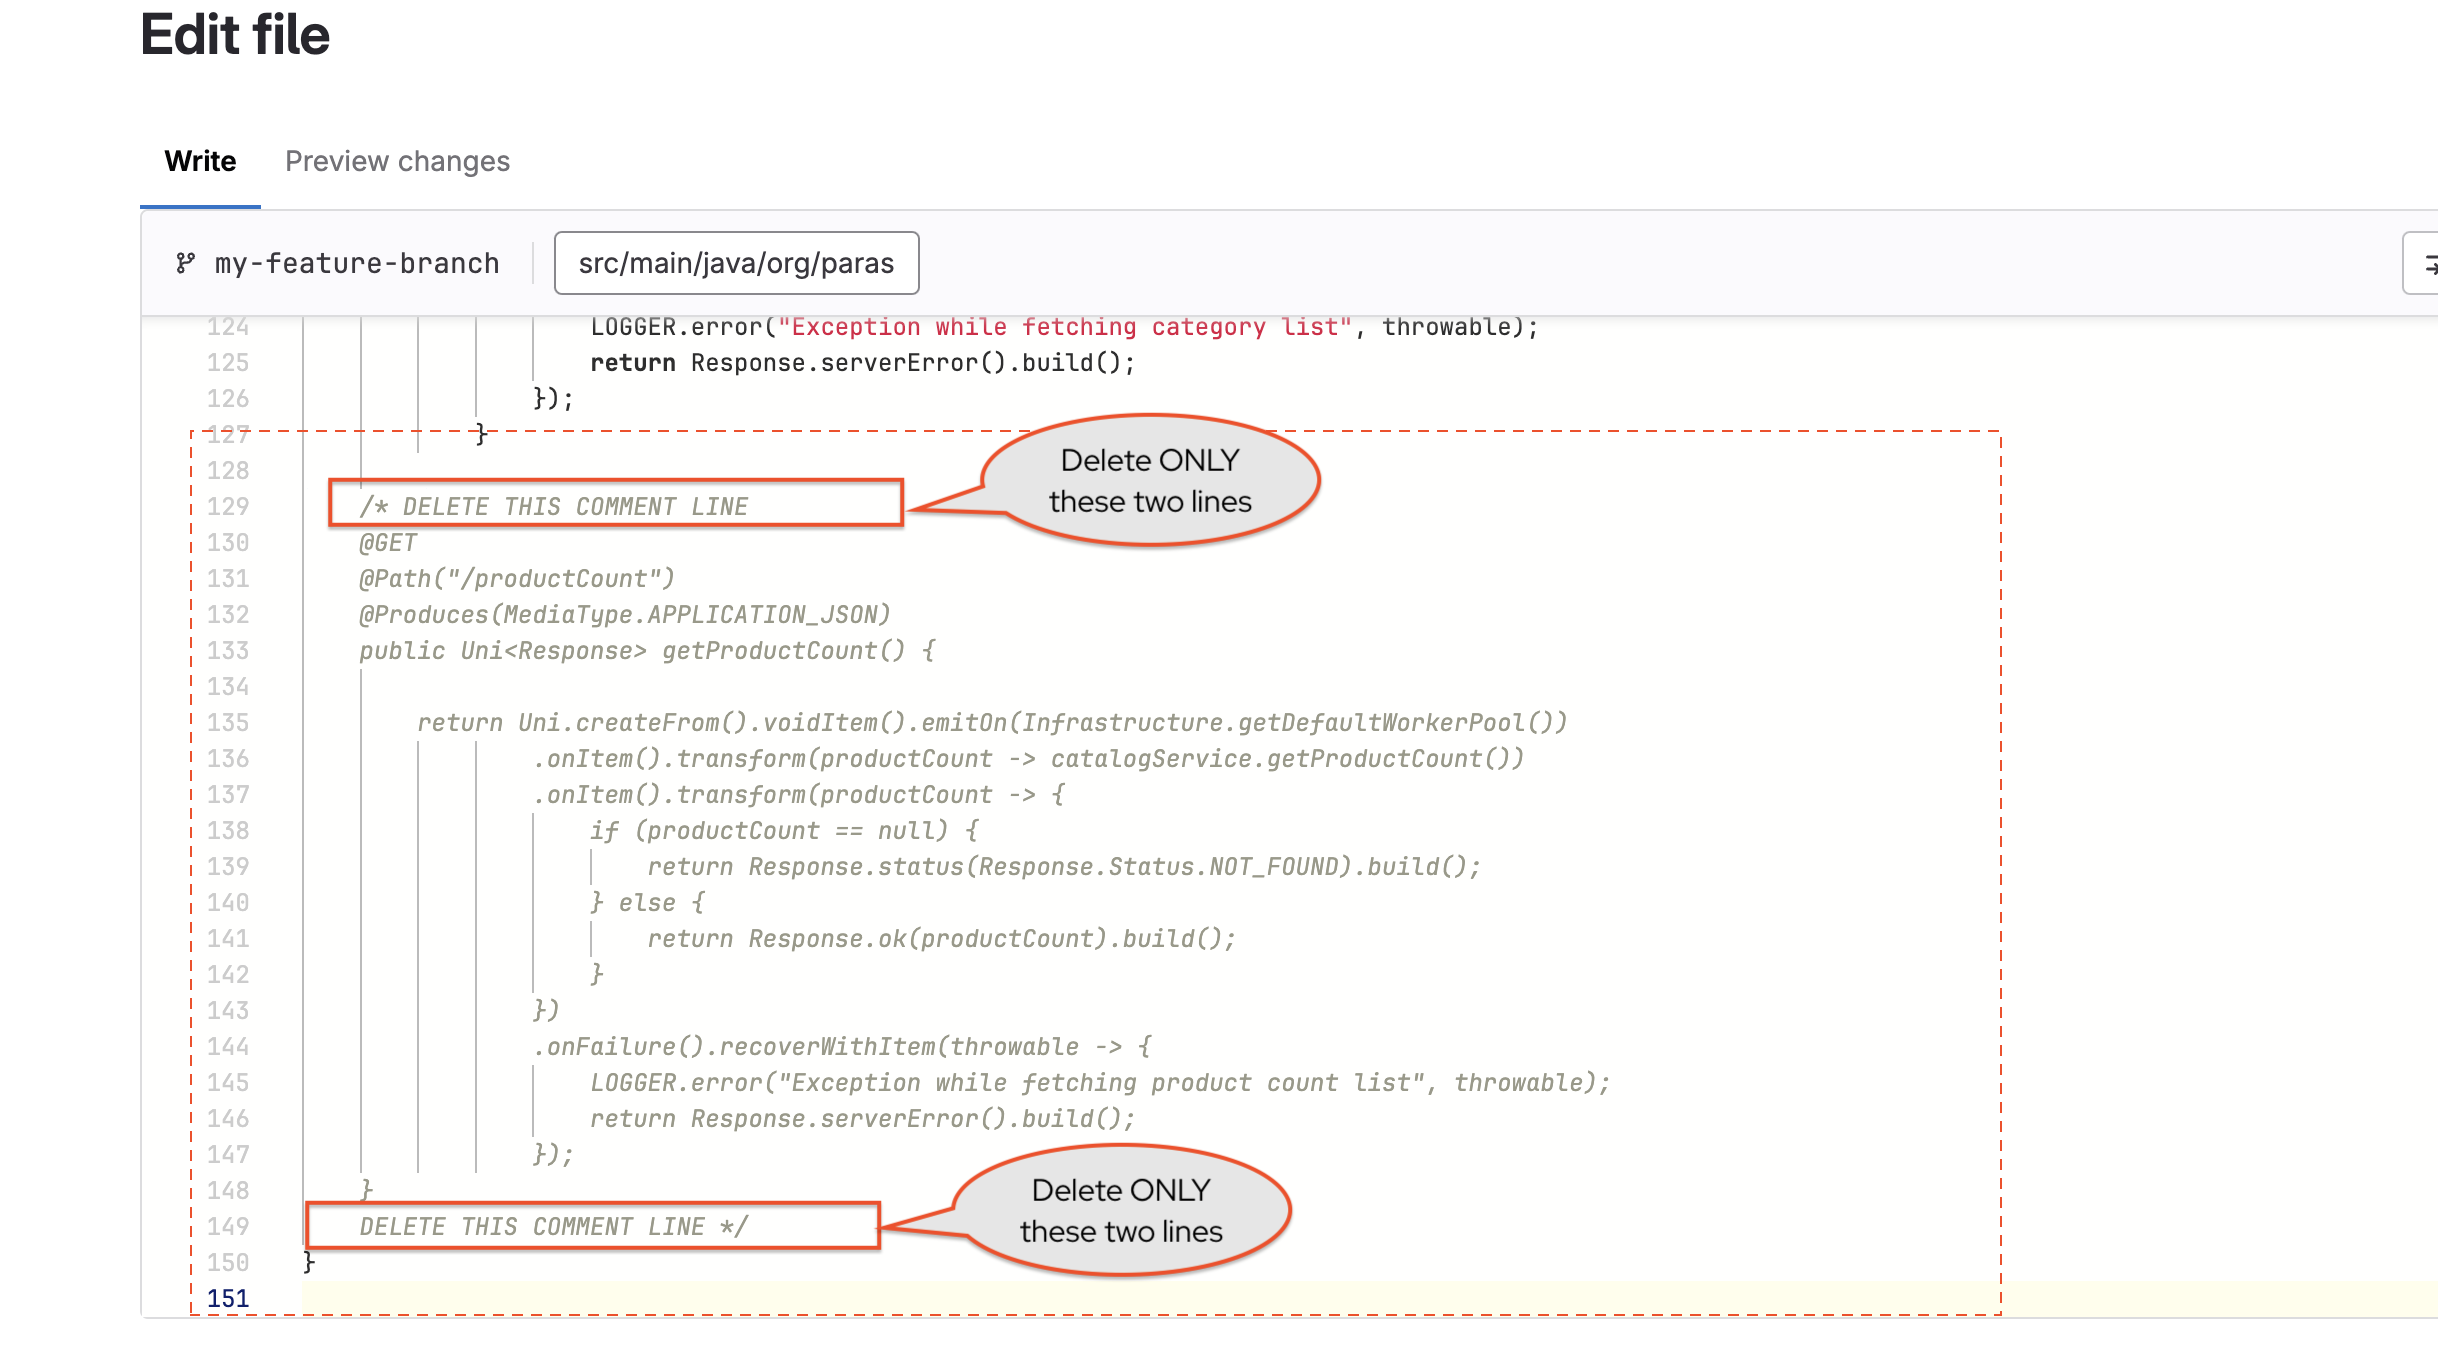
-
Carefully delete the these two lines:
/* DELETE THIS COMMENT LINEandDELETE THIS COMMENT LINE */. This will remove the comments. -
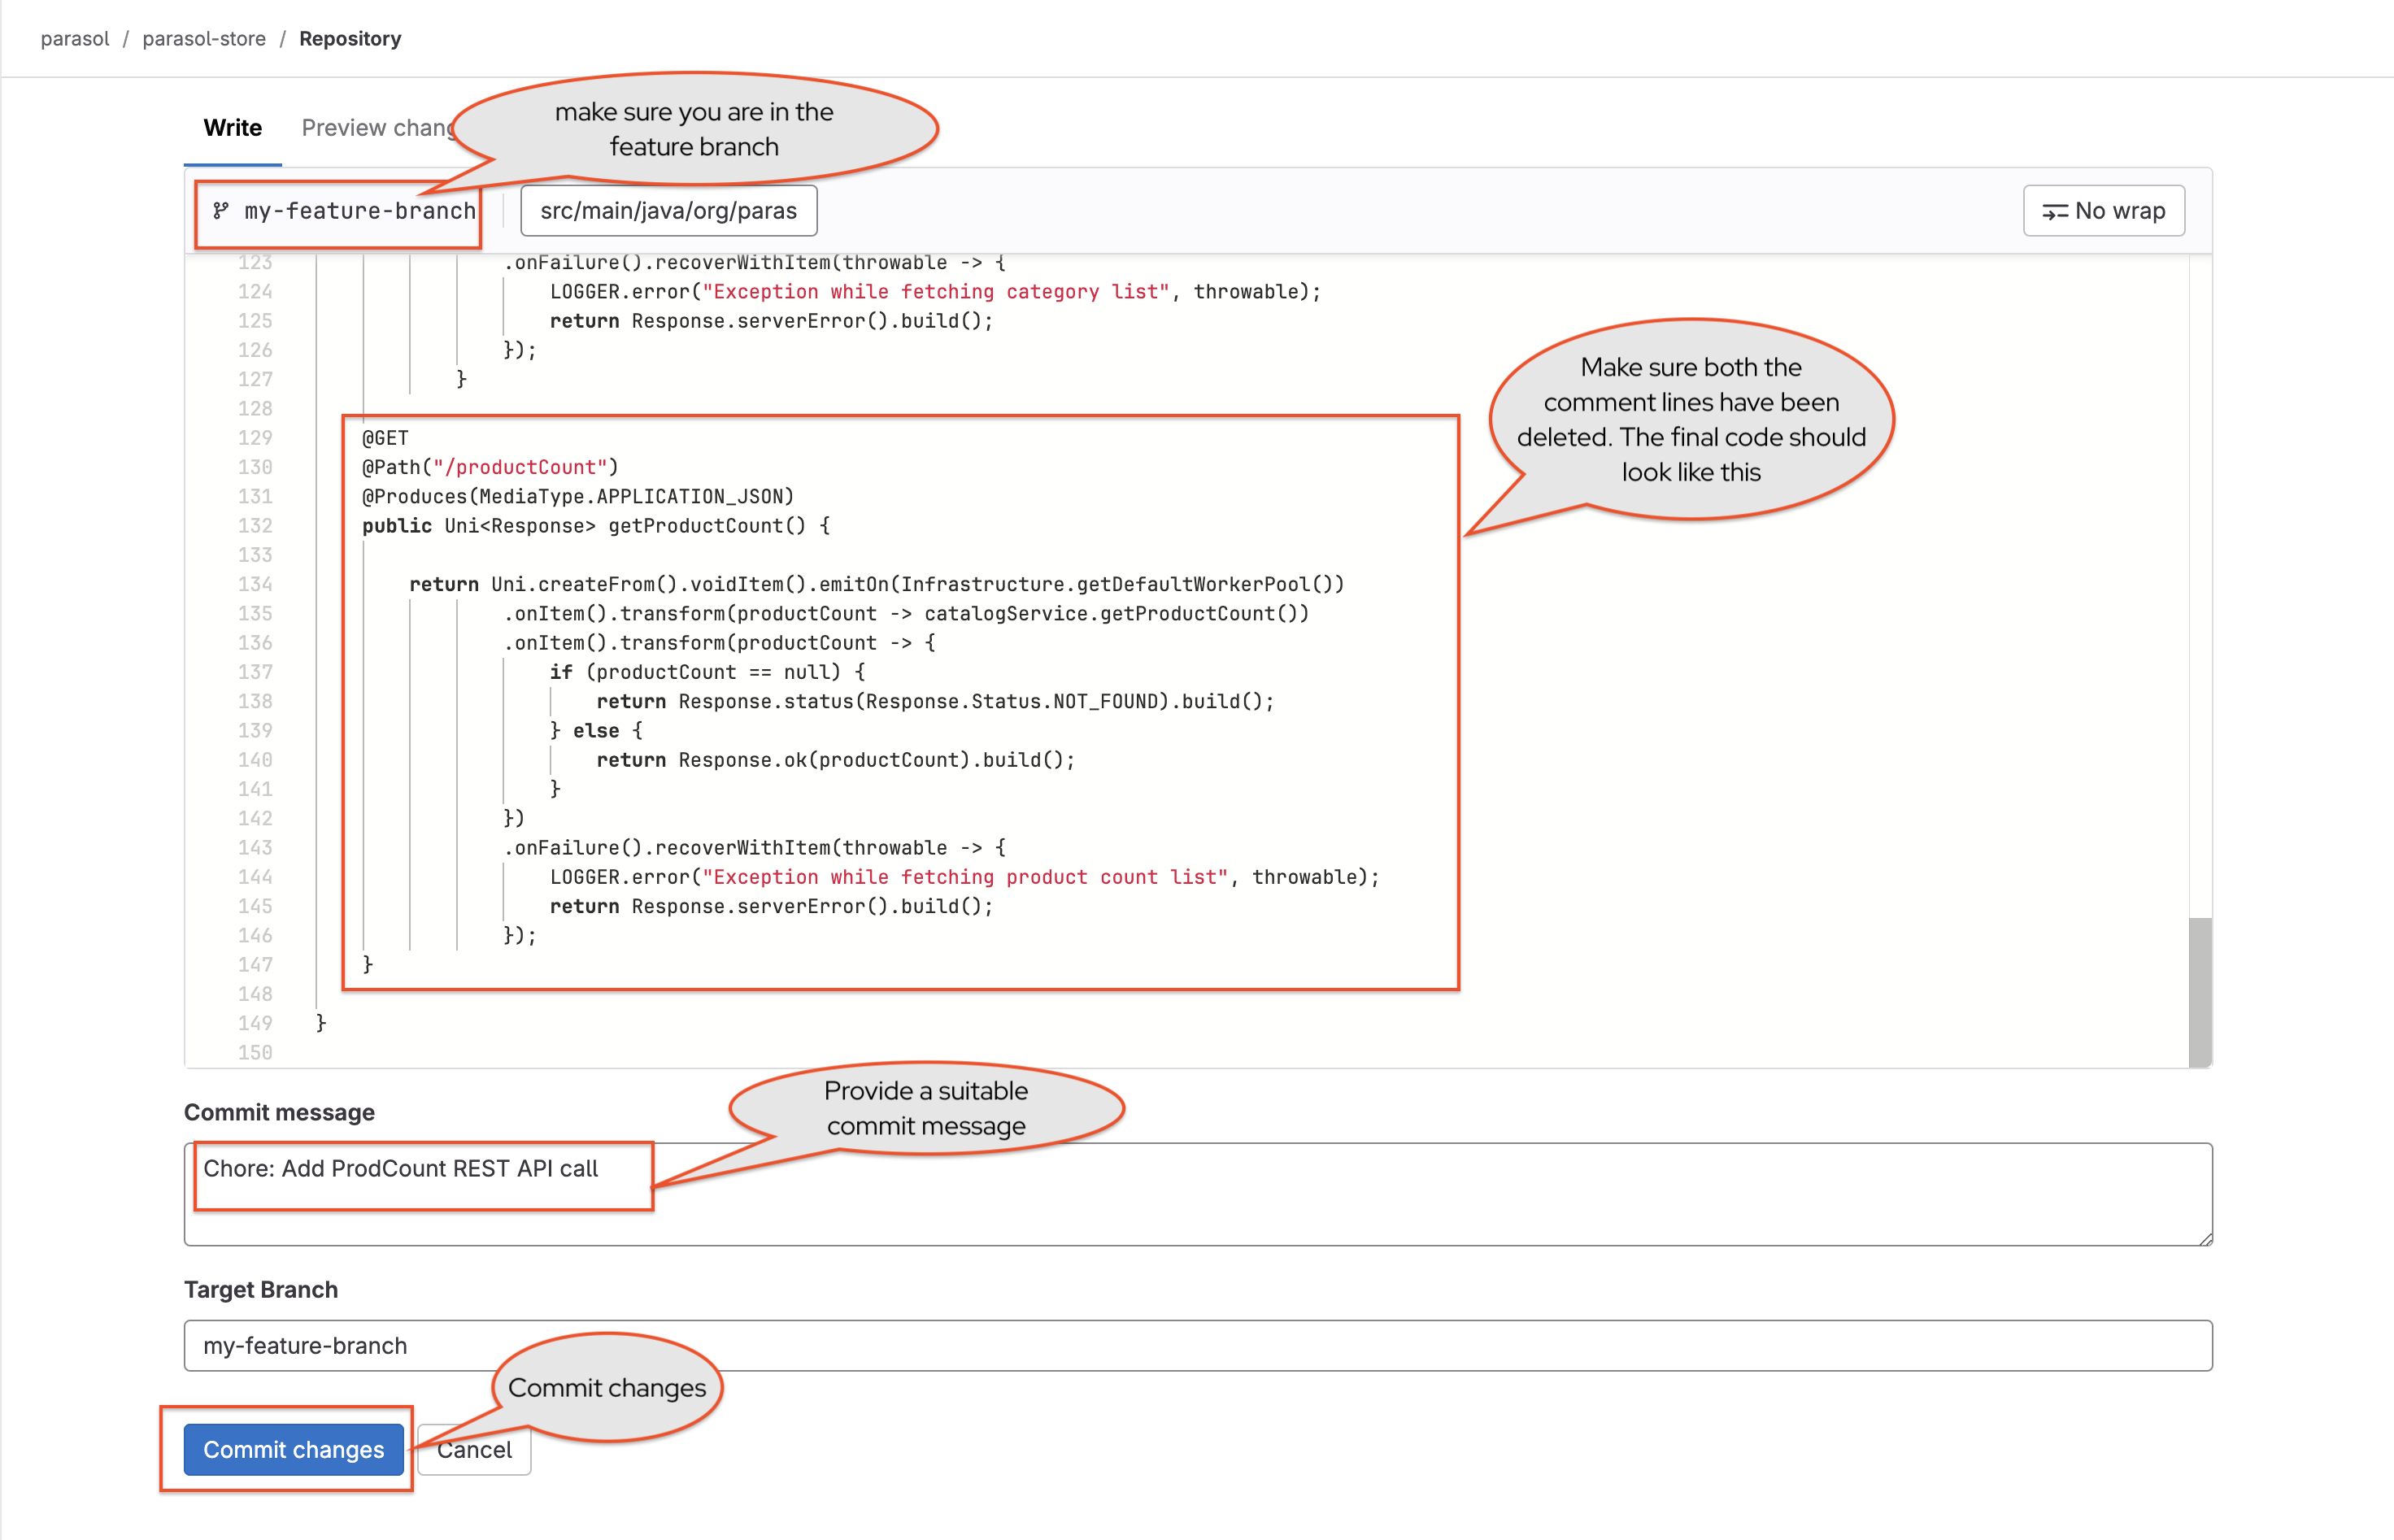
After deletion, the file should look like this
-
Add a Commit Message
Chore: Add ProdCount REST API callat the bottom of the page; make sure the Target Branch ismy-feature-branch; Click Commit changes -
You can now close the GitLab browser tab.
View parasol-store component on Red Hat Developer Hub
-
Navigate to
parasol-store-my-feature-branchcomponent from your Red Hat Developer Hub -
Access the CI tab to view the pipeline. You will see a new pipeline being triggered for the change you just made. Shortly, the pipeline will be marked as Succeeded
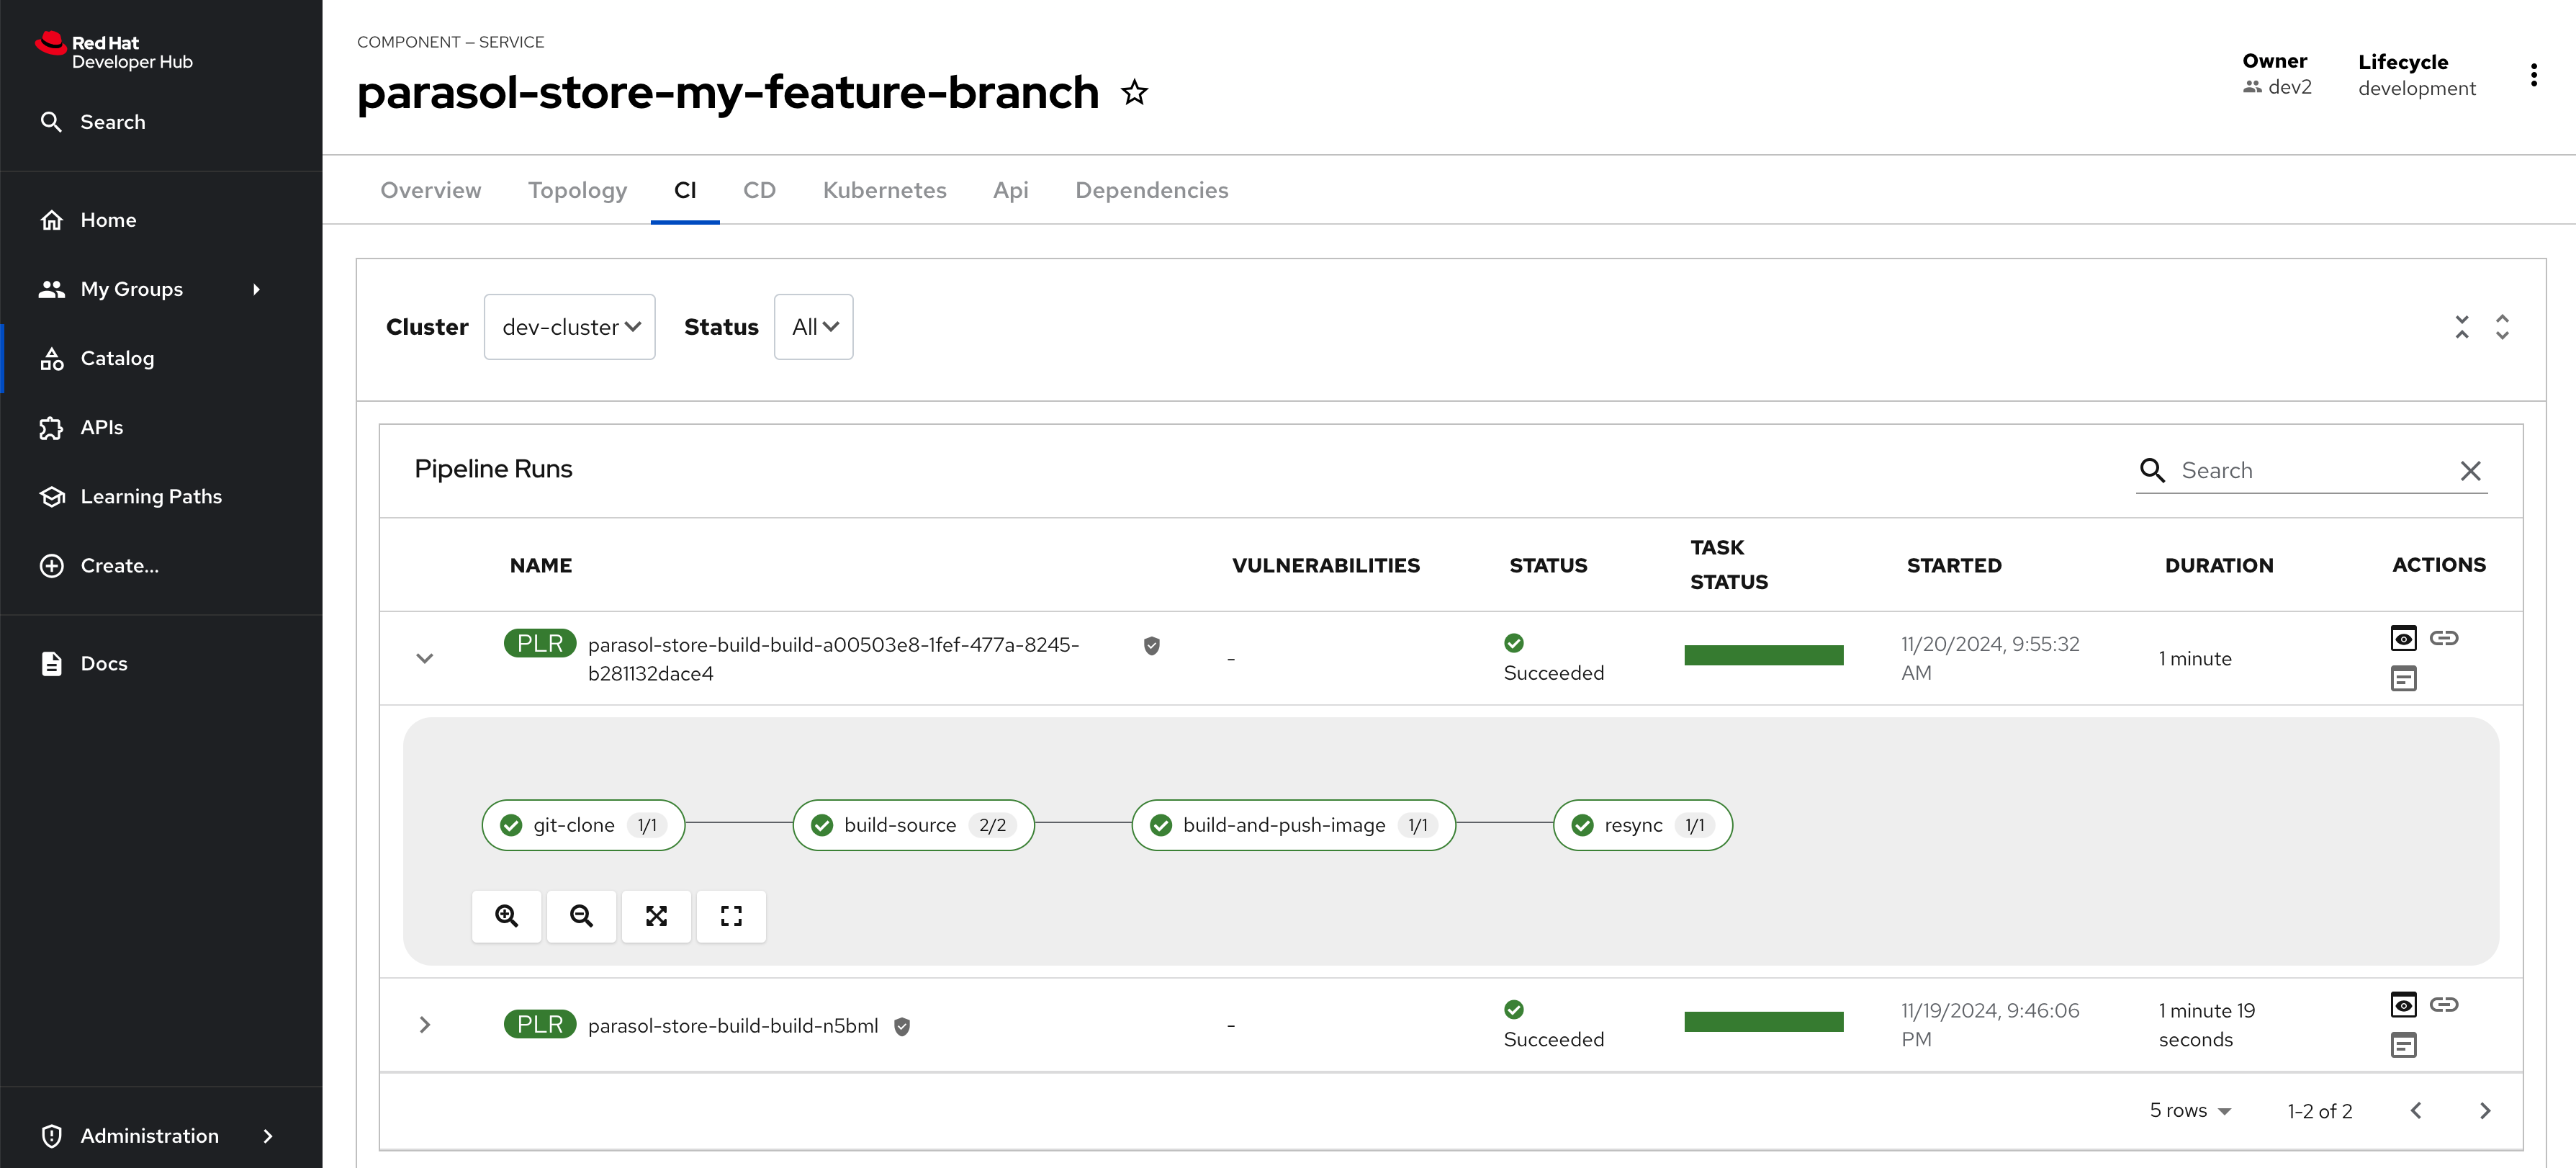
The first pipeline was triggered when you created this branch using the Software Template, and the next is by the Git commit.
Conclusion
In this module you learned how Software Templates and plugins can accelerate developer productivity. With Red Hat Developer Hub, developers have access to all the necessary tools via a single pane of glass, reducing cognitive load.
This marks the end of the inner loop within the ephemeral development environment. In the next section, you will create a merge request to the main branch to initiate the outer loop.